DIY Wedding Greenery Centerpiece: Step-by-Step Guide. Simple and stunning. Affordable and budget-friendly. Eco-chic. Elegant greenery. Luxurious foliage. Timeless greenery wedding decor. Fresh and fabulous. Rustic and chic. DIY greenery centerpieces to create a romantic ambiance.
This site contains affiliate links. For more info, please see our full disclosure. This post has Amazon links and as an Amazon Associate, Peppermint & Co. Ltd. earns from qualifying purchases.
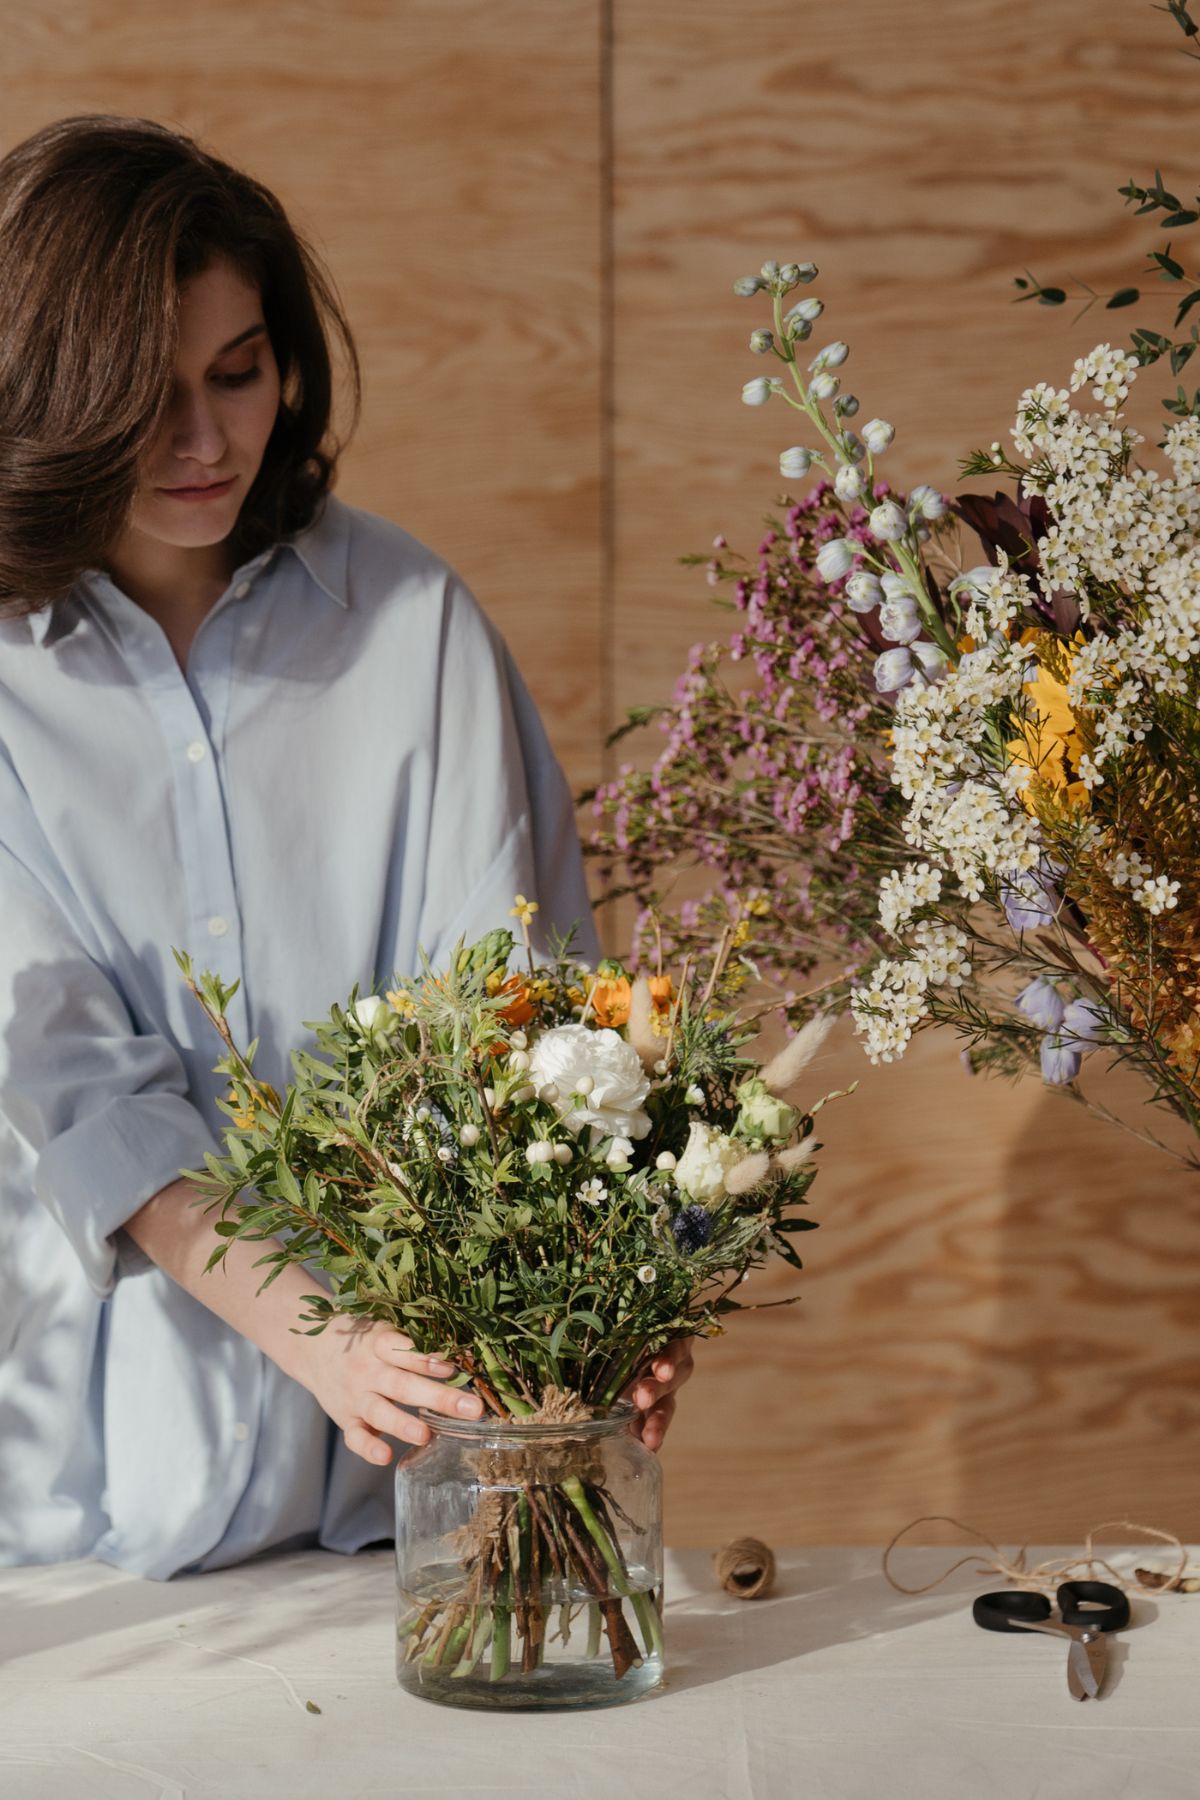
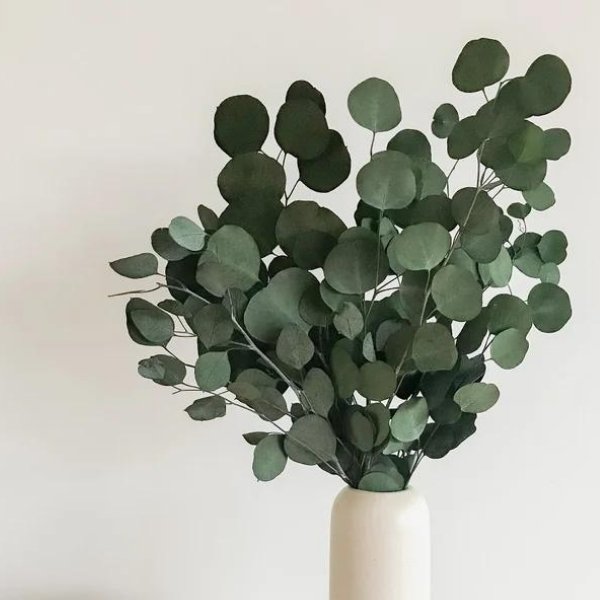
If you’re looking to add a touch of elegance to your wedding without blowing your budget, a DIY wedding greenery centerpiece is the perfect solution. These simple, yet stunning, arrangements bring a natural and timeless beauty to any table setting. Not only does working with greenery give you the opportunity to personalize each piece to match your unique wedding theme, but it also allows you to craft something that truly reflects your style. Whether you’re envisioning eucalyptus, ferns, or ivy, greenery centerpieces are versatile and can complement a wide range of colors and decor.
Creating your own DIY centerpieces means you have full control over the design, and you can adjust elements as needed to fit your vision. Greenery is easy to work with and can be paired with candles, ribbons, or even rustic vases for an added touch of elegance. Plus, this eco-friendly approach is a sustainable alternative to traditional floral arrangements, helping you create a lush atmosphere while minimizing waste. You can even involve your bridal party or family in the creation process, turning it into a fun and meaningful experience for everyone.
The beauty of DIY greenery centerpieces lies in their simplicity and sophistication, making them perfect for any wedding style—whether you’re hosting a rustic outdoor celebration or an intimate indoor gathering. Fresh greenery ensures your centerpieces stay vibrant throughout the day, giving your event a fresh, natural vibe that will impress your guests. So, grab some greenery, gather your supplies, and let your creativity shine as you create beautiful centerpieces that bring the beauty of nature into your celebration. Let’s get started on this exciting DIY journey, and craft centerpieces that will wow everyone on your special day!
** SIDE NOTE: Before committing to a DIY project, it’s important that you evaluate what’s on your plate and estimate how much time it will take you to complete a task.
By the same token, also consider “phantom costs” associated with DIY projects like supplies. packaging, storing, transportation, and most importantly, being open to mistakes and re-doing things, which means you might need to re-purchase things to start over.
Reasons why you should consider a DIY wedding greenery centerpiece:
1. Budget-Friendly Beauty: DIY greenery centerpieces are a great design option and can be more affordable than elaborate floral arrangements. With a bit of creativity, you can achieve a chic look without breaking the bank.
You can use a variety of greenery types to create dimension and texture, adding visual interest to your centerpiece.
2. Eco-Friendly Statement: Opting for a DIY greenery centerpiece aligns with eco-conscious wedding choices. Reduce your carbon footprint by using locally sourced greenery and avoiding the environmental impact associated with floral transportation.
3. Versatility in Design: Greenery provides a versatile design element that complements various wedding styles, from rustic to modern. Experiment with different types of foliage to create a centerpiece that suits your aesthetic.
4. Ease of Assembly: Greenery centerpieces are often simpler to assemble than intricate floral arrangements. This can save you time and stress during the hectic wedding planning process.
Another benefit of greenery is its longevity. Unlike cut flowers, which may wilt over the course of the day, greenery tends to hold up well throughout the event, ensuring that your centerpieces look fresh and beautiful from start to finish.
5. Unique Focal Point: A DIY greenery centerpiece can serve as a unique and eye-catching focal point for your tables, adding a touch of organic elegance that stands out from more traditional floral arrangements.
Here is a step-by-step guide to creating a DIY Wedding Greenery Centerpiece: Step by Step Guide!
- Where to purchase bulk greenery
- What is the best variety to order for DIY
- How much to order
- Processing and cleaning
- Prepping
- Packaging and storage
- Setting-up
- Easy and affordable add-ons
The best thing about this greenery style is that you can take it as minimalist as possible and even as rustic as possible! Absolutely versatile!
Let’s get started with the Wedding Centerpieces DIY greenery step-by-step guide!
Where to purchase bulk greenery
Check your local flower market and see if you can pre-order a large number of bunches (ask them for the minimum number to get a volume discount!), it will definitely be helpful for you.
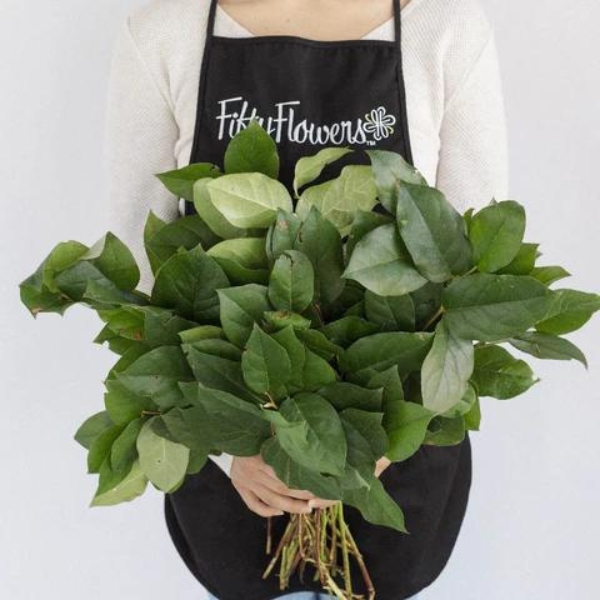
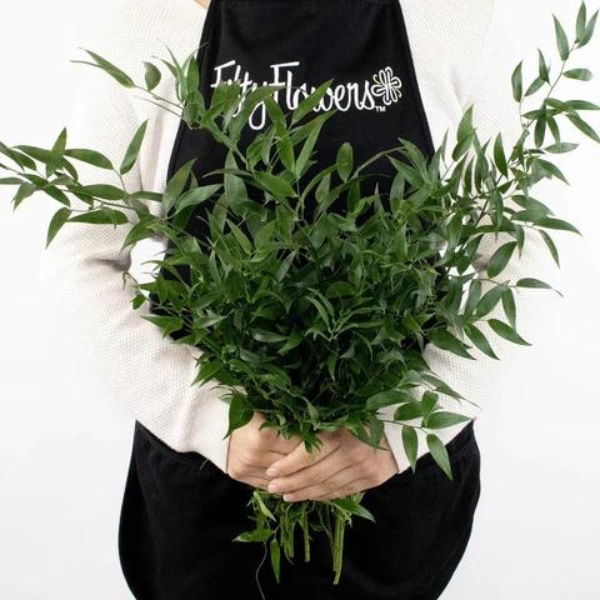
Another option is bulk wholesale flower websites like Fifty Flowers and JR Roses.
You’ll also find a lot of dried greenery selections over at Etsy.

What is the best variety to order for DIY
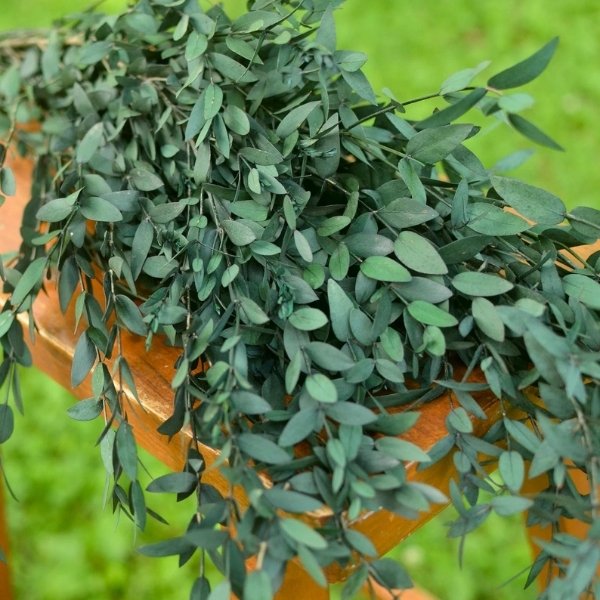
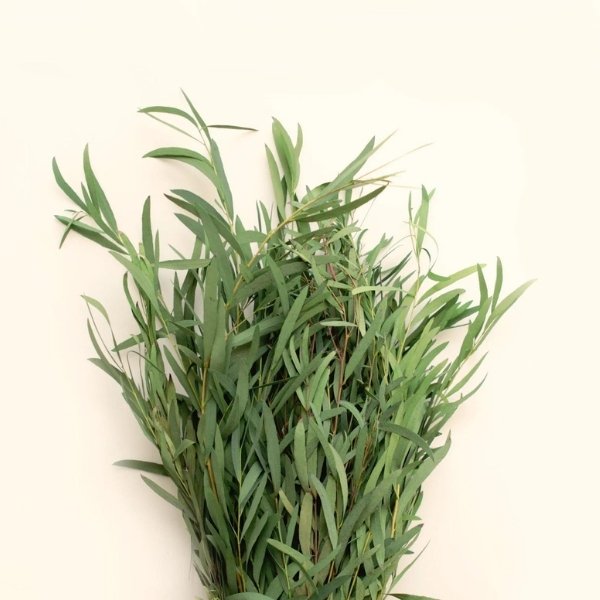
2 of the most long-lasting greeneries you can purchase are Salal and Italian Ruscus. These greenery bunches can last without being in the water! You have to keep them in a really cool place. What does this mean to you? This means you can pick up these babies 1-2 (even 3!) days before your wedding.

How much to order
Start by purchasing one bunch of each from your local flower market or shop.
This way, you can see exactly the volume and the effect. You can then play around with how heavy or light you would like them to be on your tables.
Add candles and create a “mock-up” so you can clearly plan how much you need and how it will be set up.
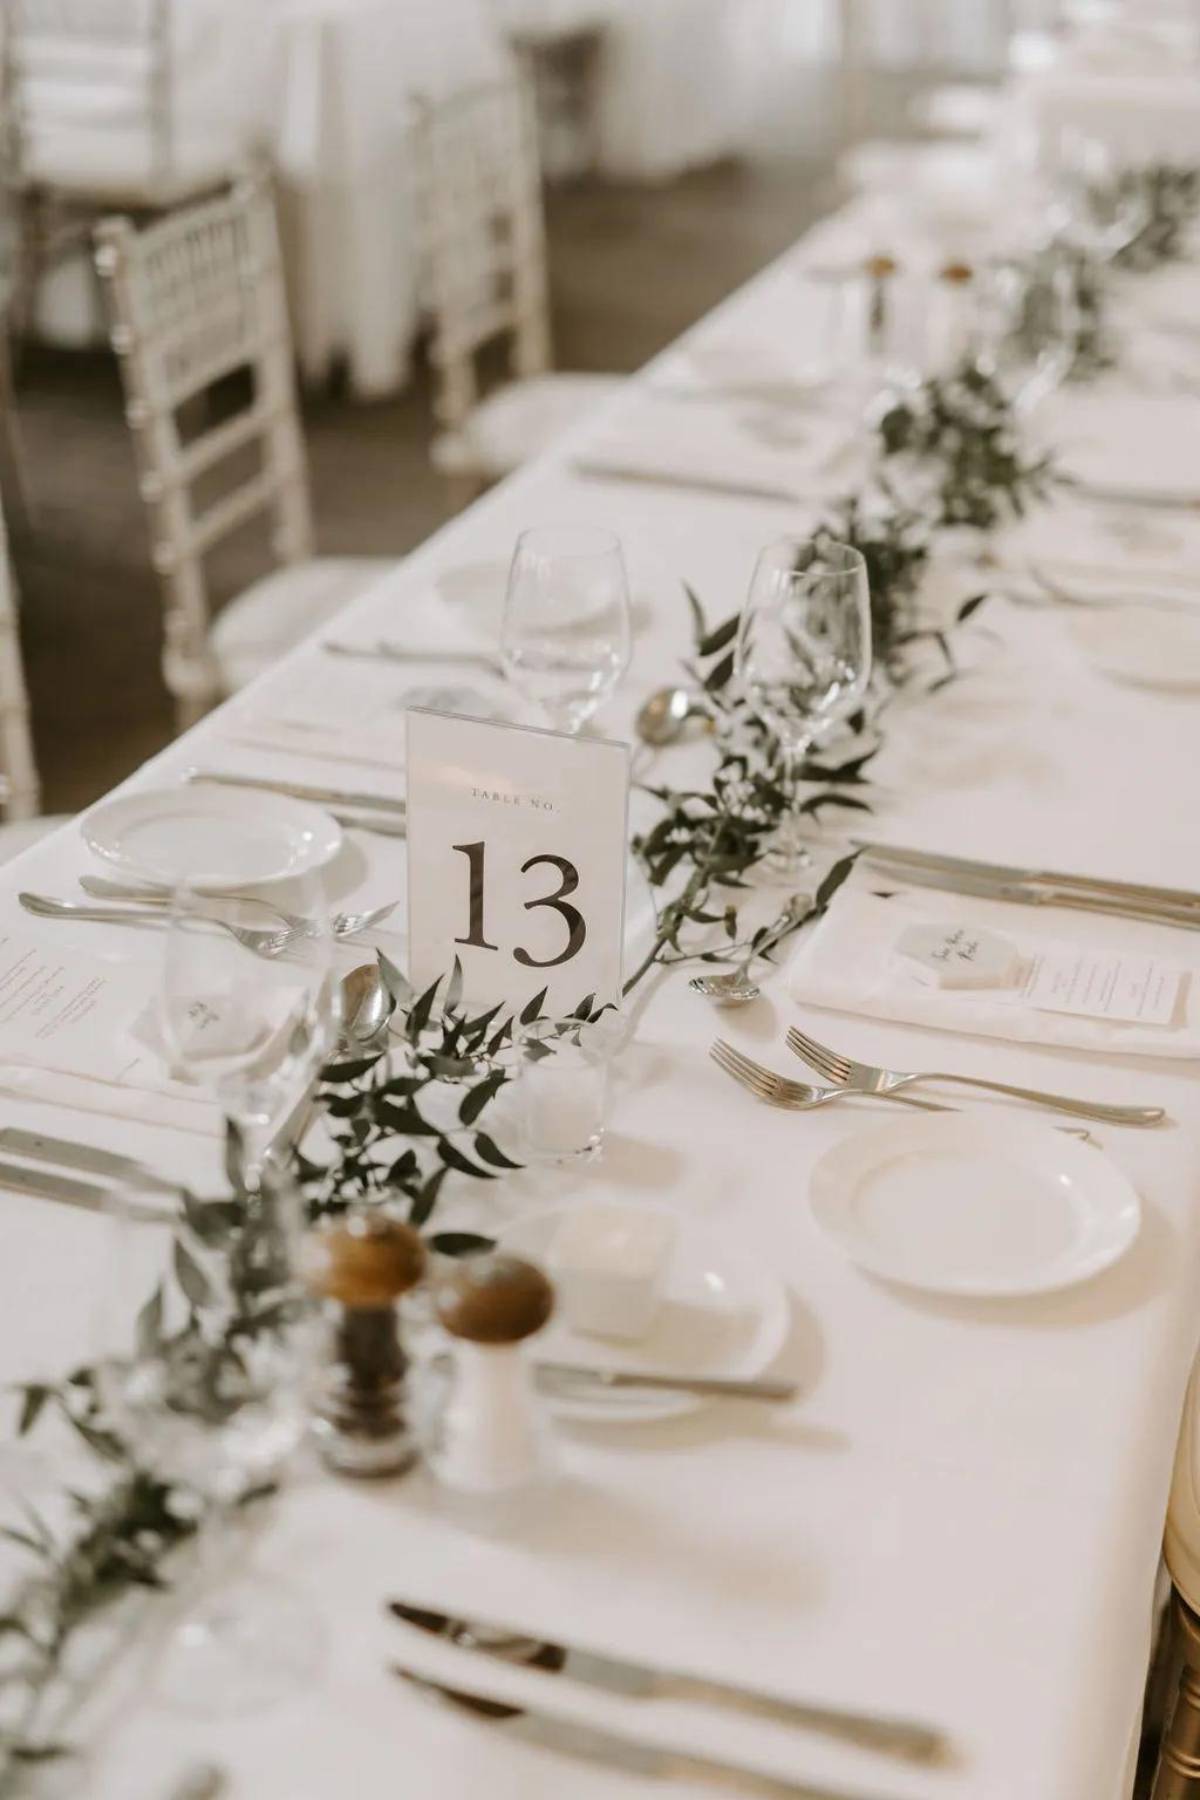
Count and note the number of stems you’ve used per 6 feet so you can calculate further later. If you know the lengths of the table you are using (you can ask your venue!) then use that as a reference.
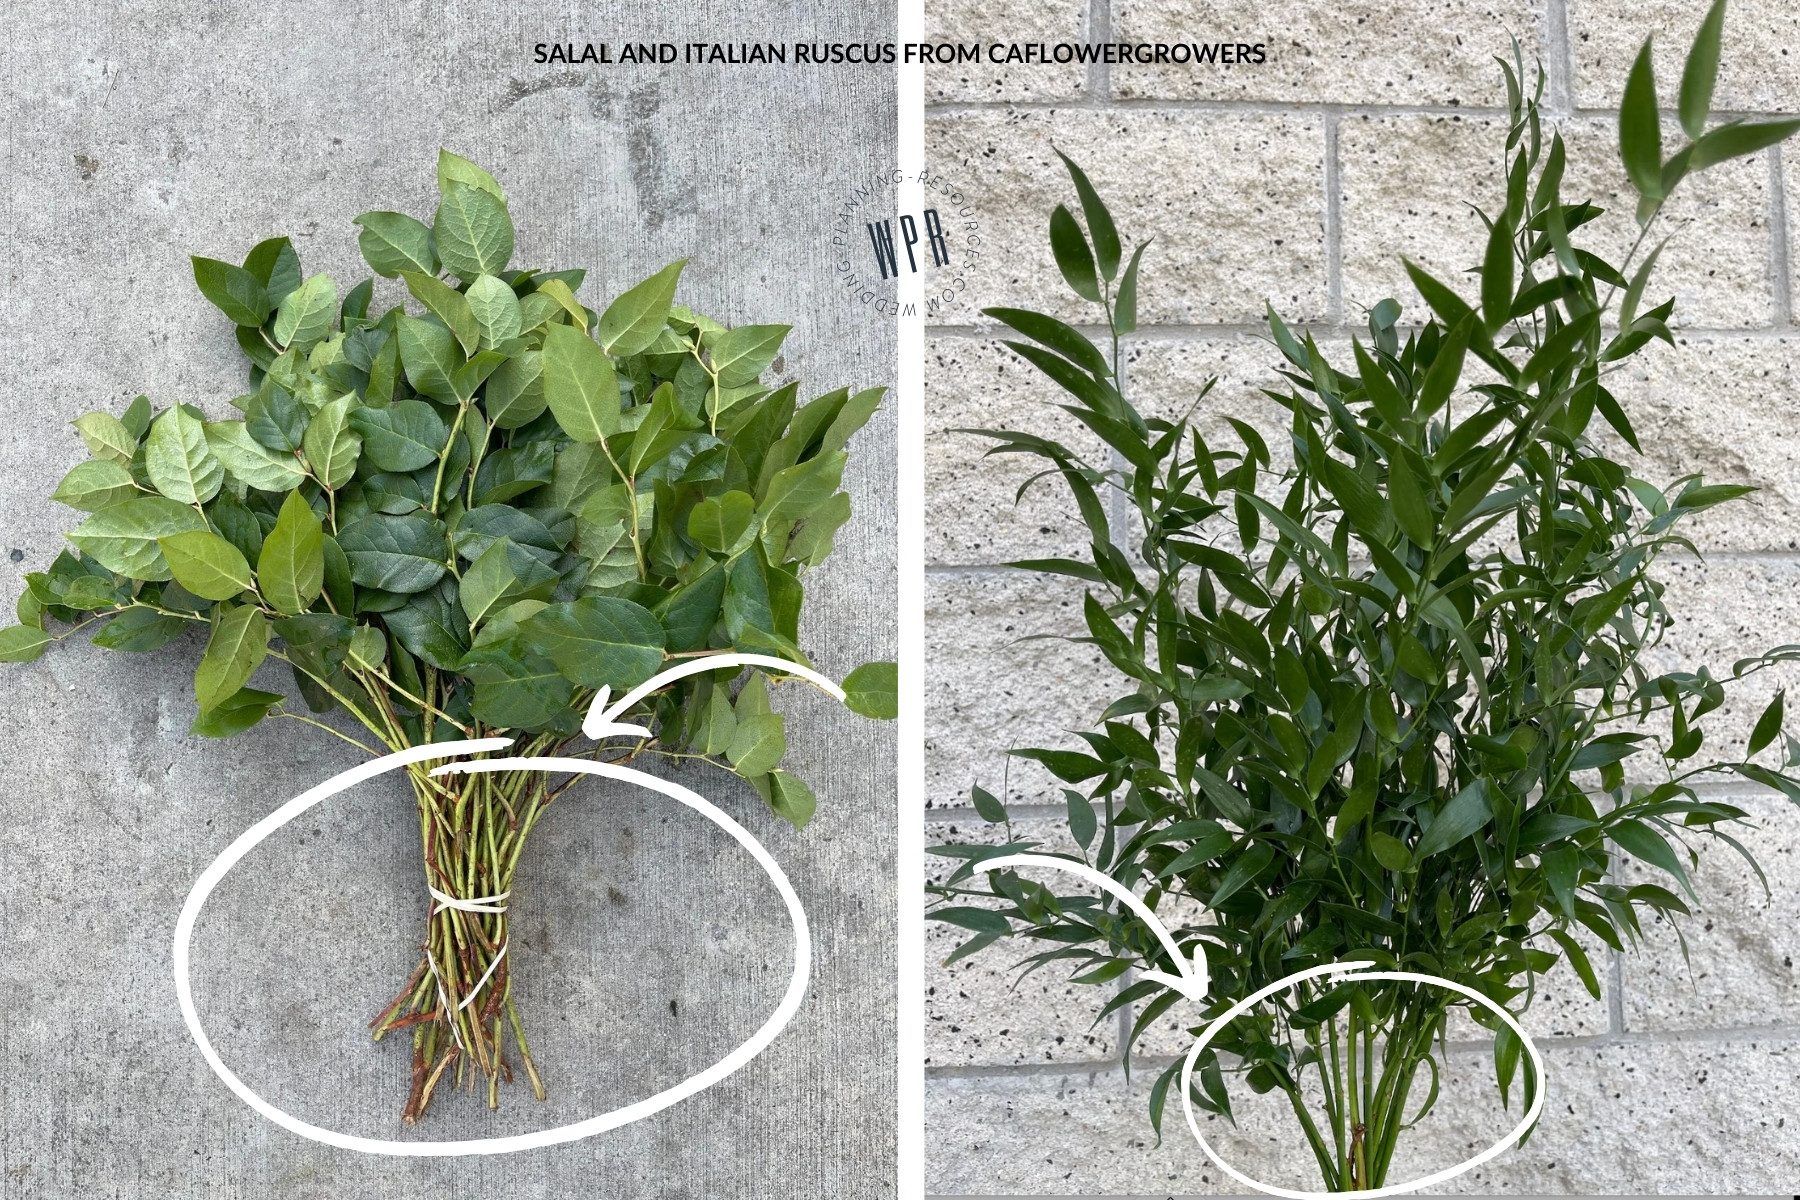
*** PRO TIP: If you mix both Salal and Italian Ruscus, do not overdo the Salal. It will easily overpower the Ruscus. Start with a base of Salal and then layer the Ruscus on top. The pointed tips of the Ruscus are what it’s known for. Make sure you layer and put Ruscus last.
Once you’ve figured out the style and volume that you prefer, count the stems accordingly.
SALAL: Usually around 8-10 stems per bunch.
ITALIAN RUSCUS: Usually 5-8 stems per bunch.
When calculating the number of stems you need, always go on the lower count (Salal: 8 and Italian Ruscus: 5)
*** PRO TIP: To ensure you are happy with the volume of your centerpiece, check the table WIDTH, not just the length but also the width. If your banquet is narrower, you might not need to cover a wider area, and a few stems might be more appropriate. If it is wider, consider wider coverage and add-ons like candles.
Here is a sample of what your breakdown of stems/bunches will be:
PER TABLE BREAK DOWN: 3 stems for base Salal + 5 stems Ruscus
NUMBER OF TABLES: 10 rectangular
*** PRO TIP: Always add 10-20% padding. When you get the greenery, not all the stems might be 100% useful, and you might need to discard some of them. To have a good amount of extras, 10-20%, will save you the stress! In the sample below, we added 20% (multiplied by 1.20).
SALAL TOTAL STEMS: 3 stems x 10 tables = 30 stems x 1.20 = 36 stems
SALAL TOTAL BUNCHES: 36 stems ÷ 8 stems/bunch = 4.5 ≈ 5 bunches
ITALIAN RUSCUS TOTAL STEMS: 5 stems x 10 tables = 50 stems x 1.20 = 60 stems
ITALIAN RUSCUS TOTAL BUNCHES: 60 stems ÷ 5 stems/bunch = 12 bunches
*** PRO TIP: Always round up the stems. For the extras you have, you can put it on your head table or other tables like the cake table, welcome table, etc.
Processing and cleaning (DIY wedding greenery centerpiece)
Italian Ruscus usually arrives without much cleaning needed. There might be some leaves that you might want to check on. It also sometimes comes with some small yellow fruit-like balls. You can either keep them or just cut them straight off.
Salal sometimes arrives with some sediments. You can wipe it off with water as needed.
Prepping
The best way to prep is to pre-cut the long stems (see photo below!). These stems are usually a telltale sign that you just literally laid the greenery on the table. This prep step will help elevate the look and make you look like a PRO DESIGNER!
IMPORTANT DESIGN NOTE: Trim off the long bottom/lower stem part (circled in the photo)
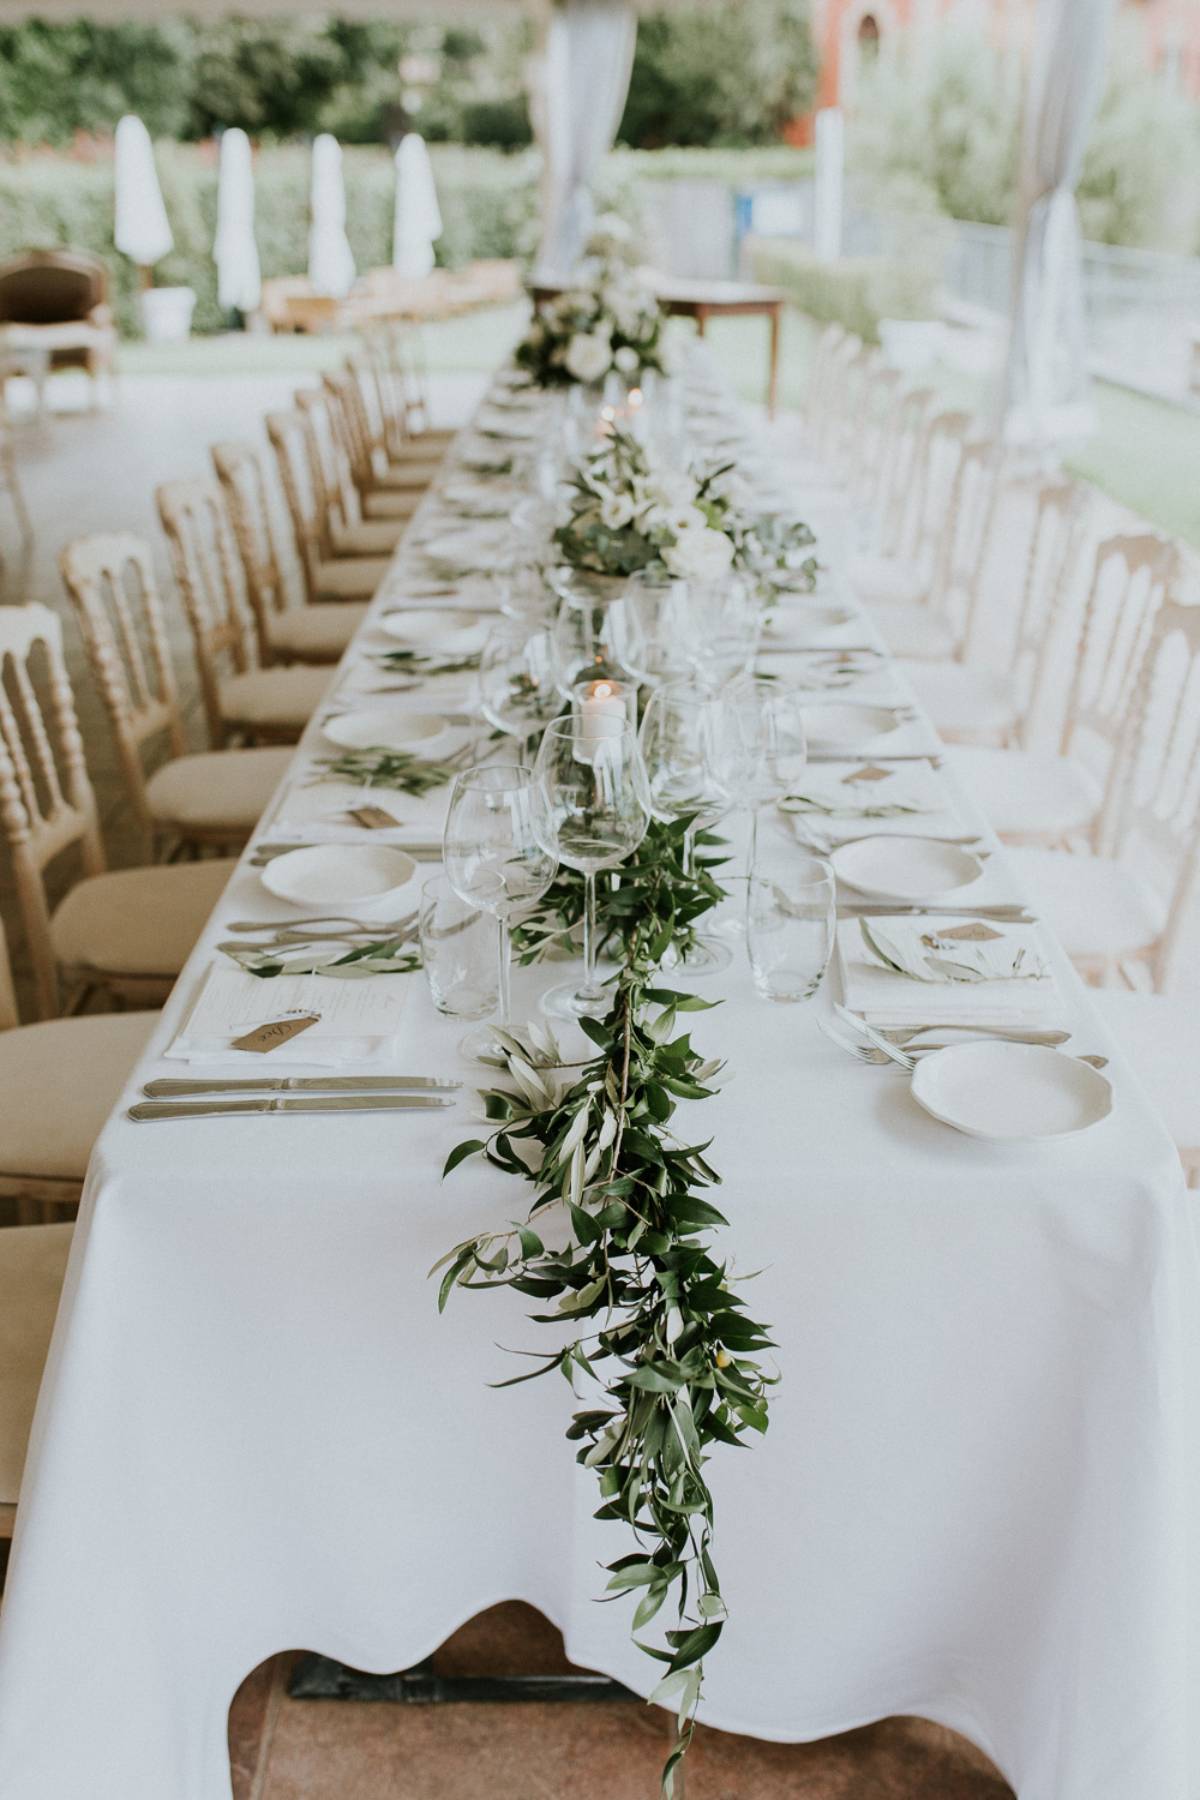
Without these long stems, it will almost look like they are all connected like a garland; since the long bottom stems will no longer be visible, the “endpoint” will almost “disappear.”
Yep. You just elevated a seemingly “ordinary” idea with this DIY design pro tip! We’ve done something similar to this here.

Packaging and storage
There is an easy way to pack and store these DIY Greenery Wedding Centerpieces.
This is probably one of the most important steps on How To: Greenery Wedding Centerpiece: (Step by step guide); PACKAGING!
The best way to package is to do it individually per table after you have trimmed the extra stems, group the stems accordingly per table (based on your breakdown).
Put the number of stems needed per table in a bag. We suggest using a clear bag to ensure that it doesn’t “accidentally” get thrown out.
Label each bag with the table number for where it’s supposed to be, especially if you plan to put more stems on the sweetheart table. 1 bag with the exact number of stems per table is the best, easiest, and fastest way to go!
When you have these packaged and labeled accordingly, you and whoever might help you set up at your venue will be able to reference much easier and set up much faster.
Store in a cool place, away from any draft or heat. Italian Ruscus might need a little more love and care (water!), but the Salal will usually stay in good condition if you keep it in a cool place.
If your greenery is somewhat damp, poke holes in the bag so that it won’t get mushy!
IMPORTANT: Only package 1-2 days before the wedding to ensure their freshness!
Setting-up
Since you have already amazingly pre-packaged everything per table, it will be literally easy peasy to set them up and place them on the table accordingly.
If you have some friends or family helping you set up, you can provide a reference photo (remember the mock-up photo you took earlier?) of how you would like the set-up and how many stems per table. It can look something like this:

The more detailed, clearer, and shorter the steps are, the easier it is to pass on to someone else to do – because it really is easy peasy.
Adding a finished product photo in your guide will help you and whoever is helping you understand the look you are going for, also makes it easier to copy and set up!
Easy and affordable add-ons for your greenery DIY Wedding Centerpieces
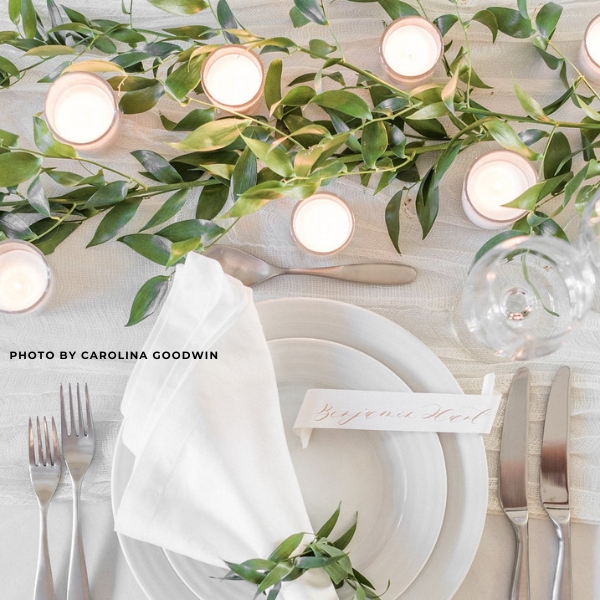
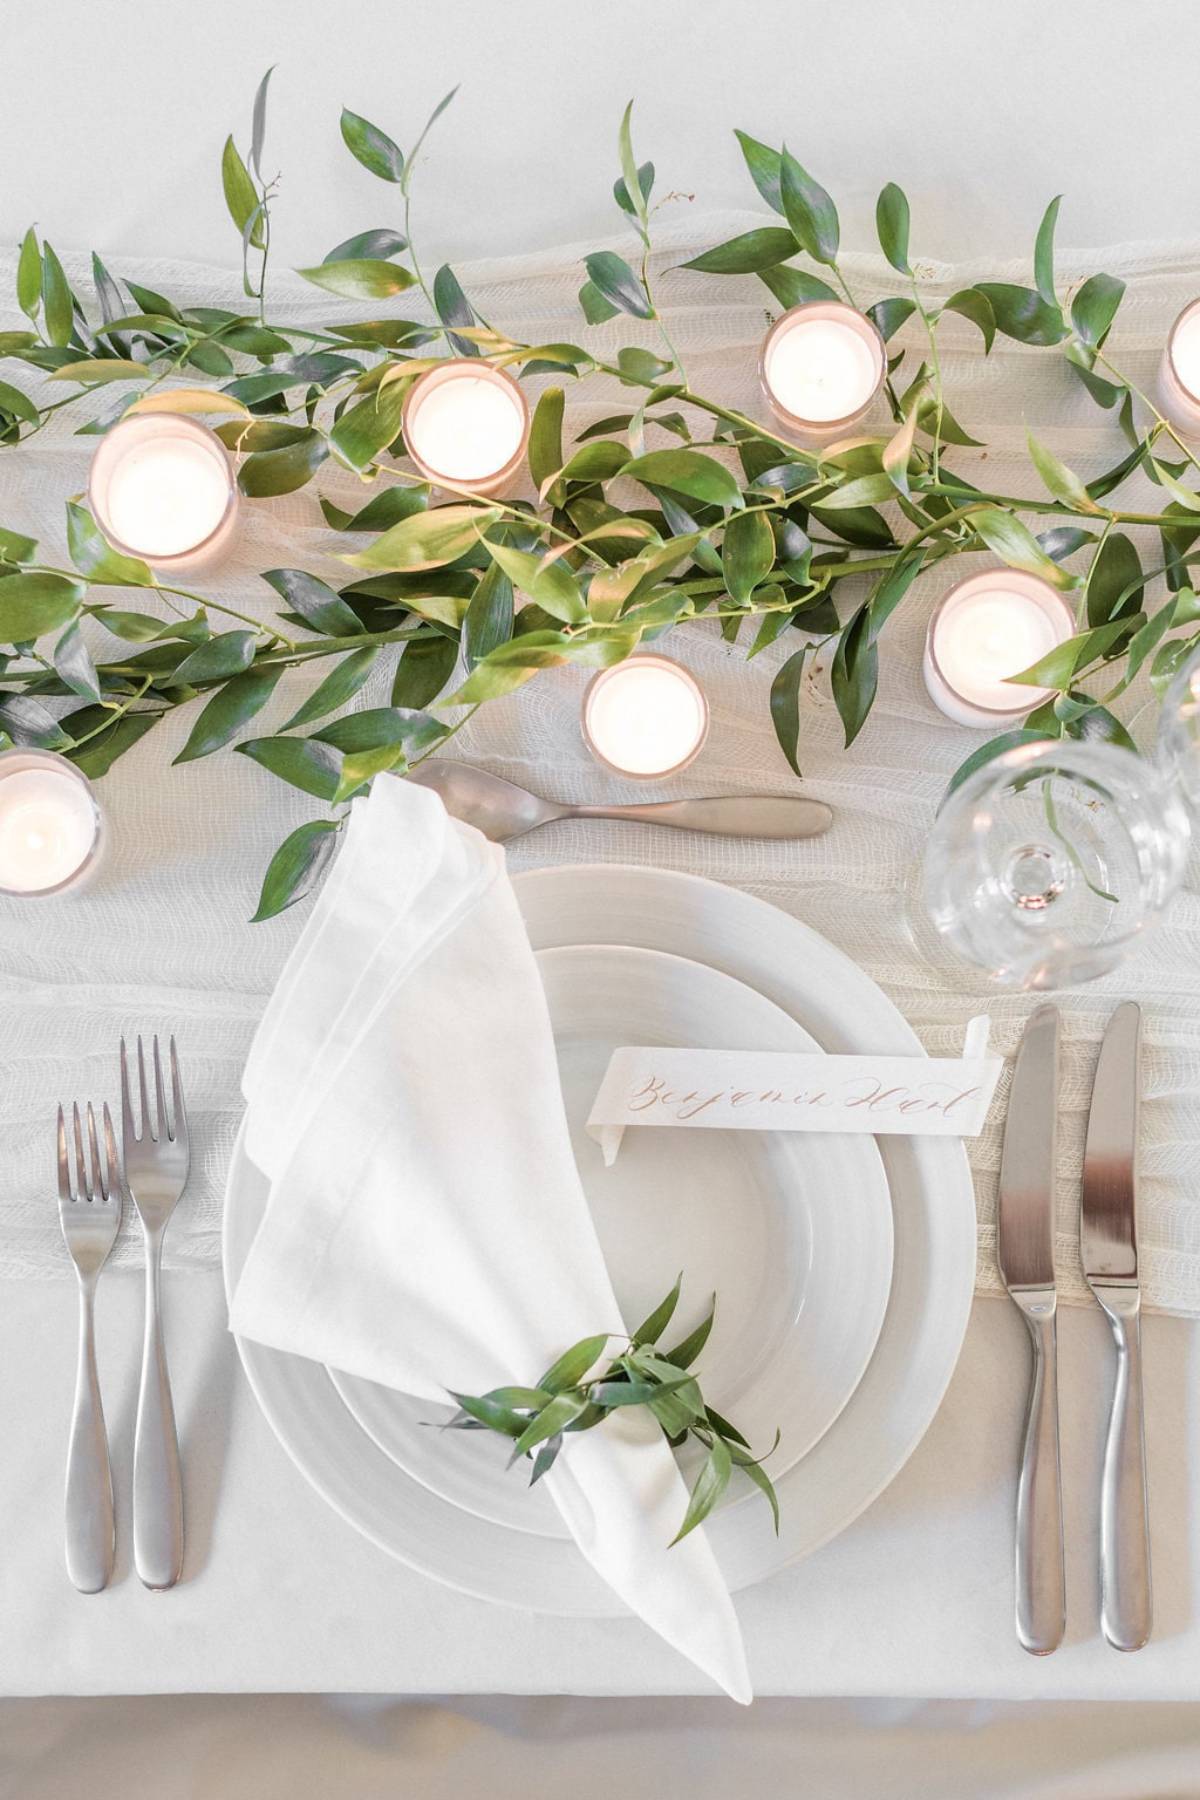
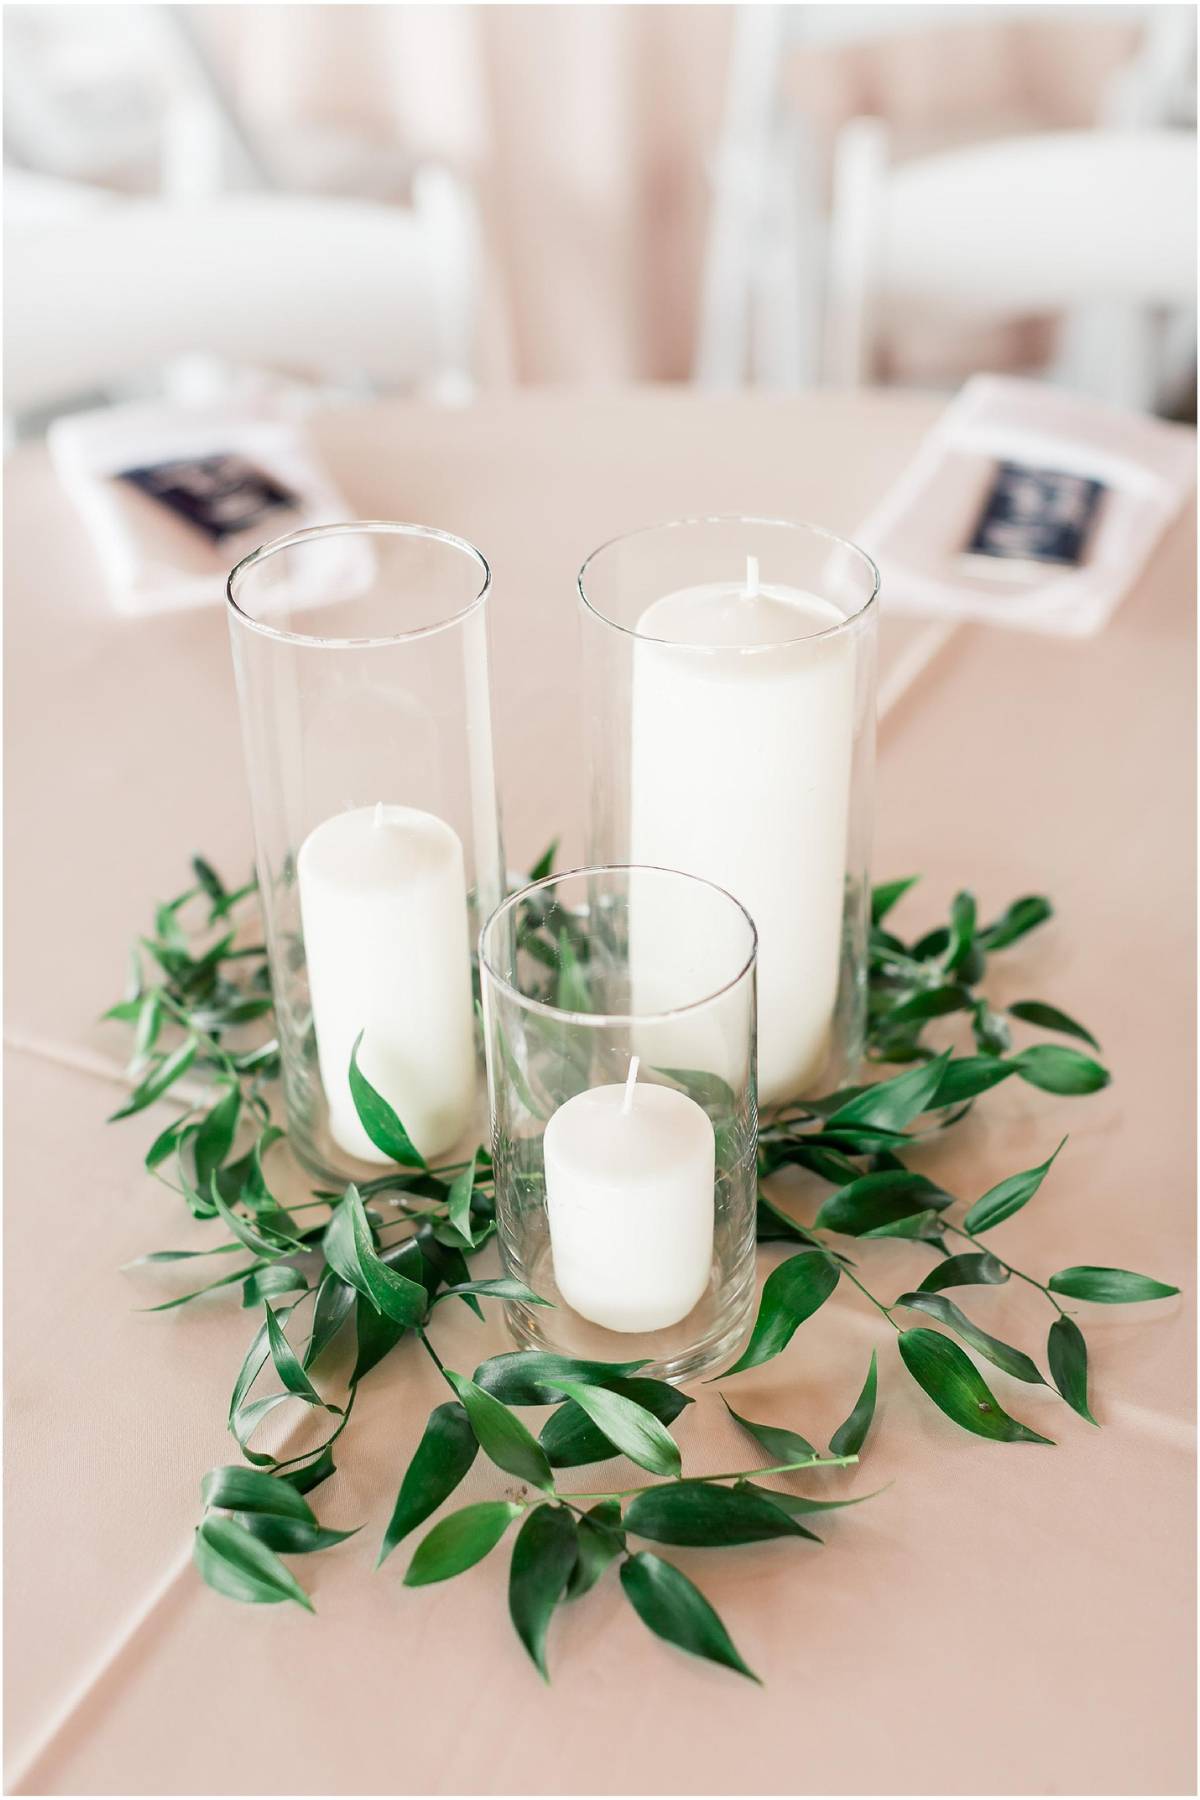
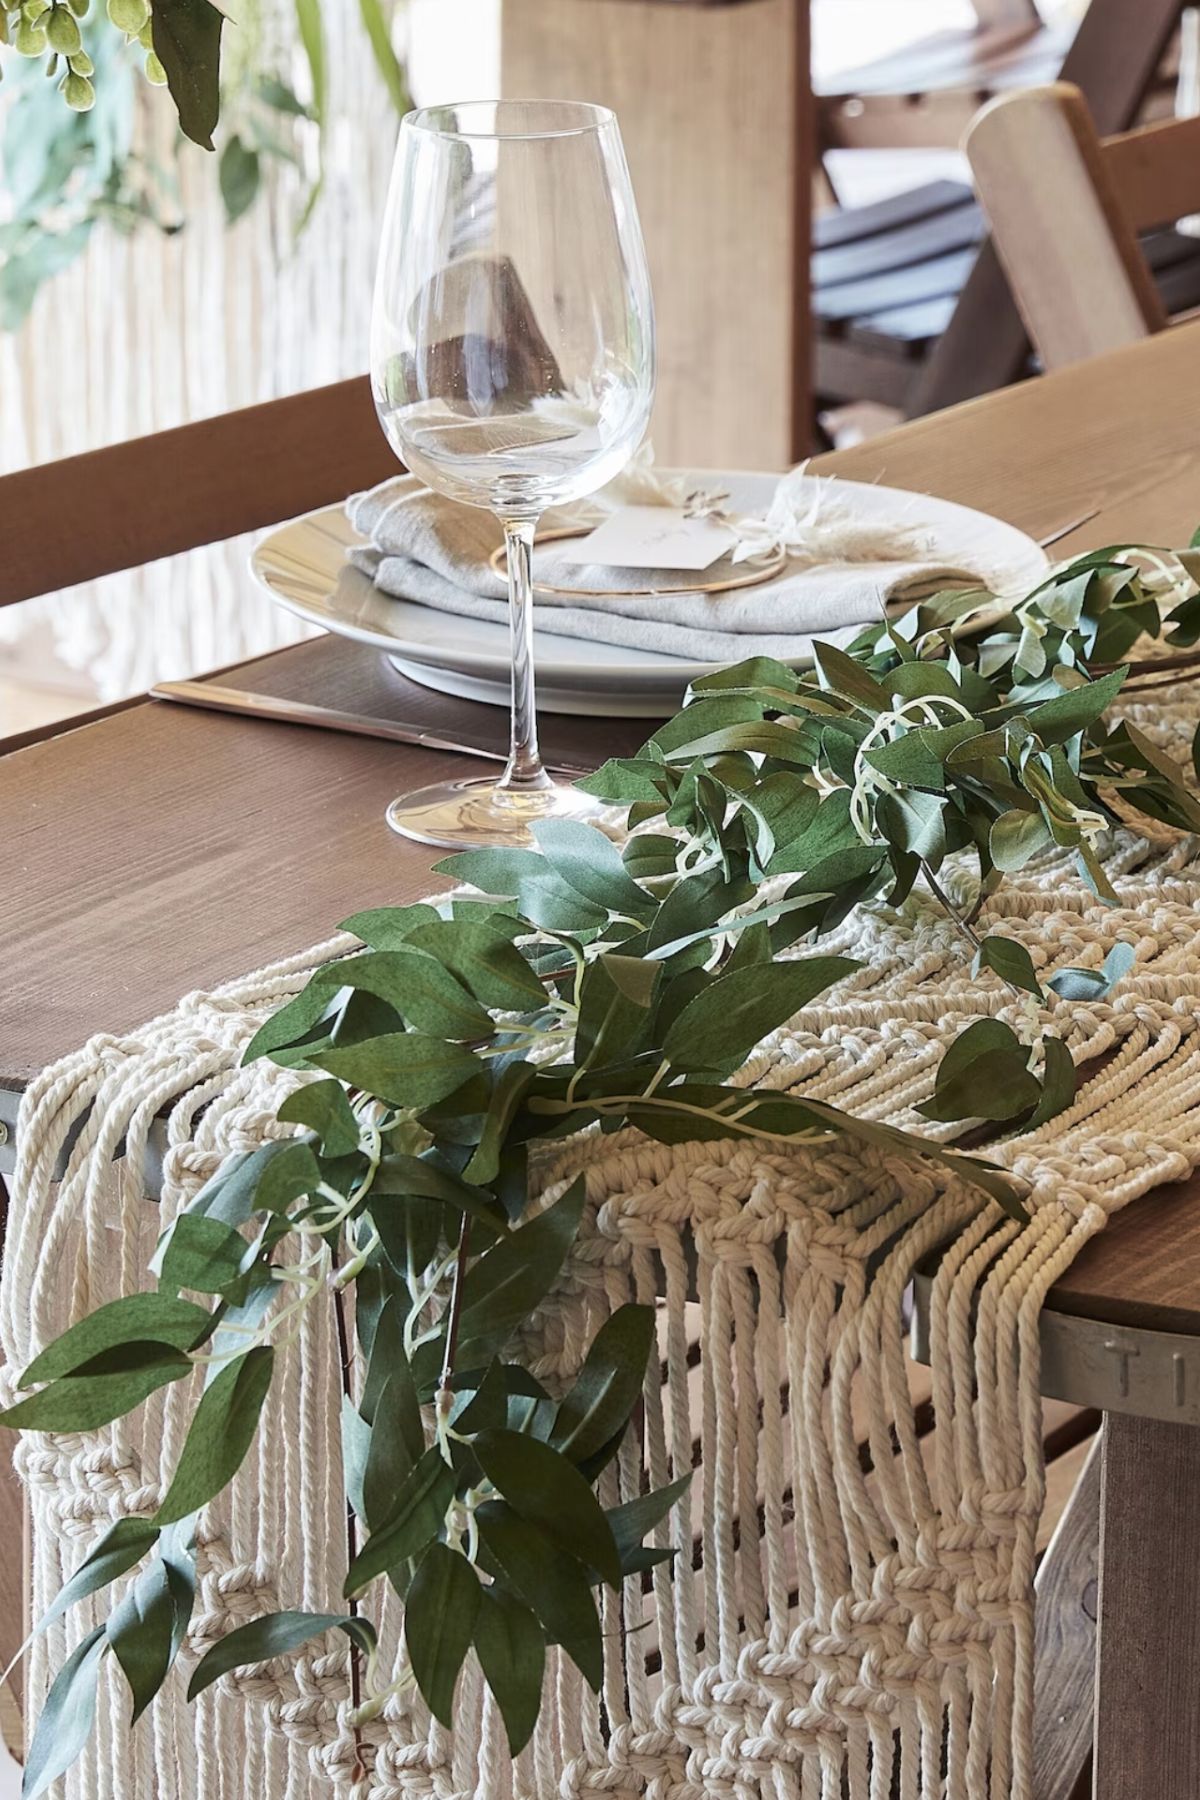
One of the best things about this DIY Greenery Wedding Centerpiece is you can easily jazz it up! The easiest add-on to elevate the look of this greenery centerpiece is to add votive and floating candles.
Yes, we know it is tempting to add sexy tapered candles. You can definitely add them. They do, however, need a stand, and of course, they are open flame. Most venues are okay with an open flame, but some are not.

The easiest of them all to elevate the greenery look and add that romantic touch are votive candles.
You literally pull them out of the box, place them on the table, and light them up, or you can have your venue coordinator light them up 30 minutes before the door opens for the guests to walk in.
The floating candle is gorgeous, but let me tell you that work is needed to fill those vases with water and place the floating candle on top. It might seem like an easy and fast thing to do, but if you use the kitchen sink or the venue’s bathroom sink, this will take up time.
If you are really keen on adding them, you can add them to specific special tables or if you have that extra set-up time.
DIY Wedding Greenery Centerpiece: Step-by-Step Guide!
Creating your own DIY wedding greenery centerpiece is a fun and rewarding way to elevate your wedding decor while staying within your budget. By following this step-by-step guide, you’ll learn how to combine stems, greenery, and a gorgeous color palette to design table centerpieces that wow your guests. With budget-friendly tips and clever use of faux flowers or fresh blooms, you’ll save money without sacrificing style.
This DIY wedding project not only allows you to customize your wedding centerpieces but also adds a personal, heartfelt touch to your special day. Whether you’re starting with floral foam, tape, or wrist corsages, you’ll have everything you need to create stunning decor. So, shop for your favorite greeneries, start assembling, and enjoy every moment of bringing your vision to life—your tables are going to look amazing!
** This post has Amazon links and as an Amazon Associate, Peppermint & Co. Ltd. earns from qualifying purchases.