DIY Hydrangea Wedding Centerpiece How To Make – Easy and quick! Create Stunning Hydrangea Centerpieces for Your Wedding. DIY Tips and Tricks. Budget-Friendly Beauty: DIY Hydrangea Centerpieces for Weddings. Elegant and Easy.
This site contains affiliate links. For more info, please see our full disclosure. This post has Amazon links and as an Amazon Associate, Wedding Planning Resources earns from qualifying purchases.
- Ordering blooms and supplies
- How many flowers do you need?
- Process and prep
- Time to arrange
- Arranging Tips
- Finishing Touches
- Transporting
If you are getting married and want to take on your wedding centerpieces as your DIY project, these tips will help you get it done! With this design, you can either prep them at home and transport them to your wedding venue or you can also drop them off the night before the wedding and place them on the table the next day!
Creating your own hydrangea centerpieces for your wedding is a fantastic idea for several reasons. First and foremost, hydrangeas are stunning flowers that add a touch of elegance and beauty to any event. Their voluminous blooms and variety of colors can match any wedding theme, making them incredibly versatile. Plus, they create a full, lush look with just a few stems, which can be a budget-friendly option for decorating your venue.
Another reason to choose DIY hydrangea centerpieces is the cost savings. Professional floral arrangements can be expensive, but by purchasing the flowers and materials yourself, you can significantly cut down on costs without sacrificing style. This leaves more room in your budget for other important aspects of your wedding.
Working with hydrangeas is relatively easy, even for those who aren’t experienced with floral design. Their large blooms mean fewer flowers are needed to make an impact, and their hardy nature ensures they’ll stay fresh throughout your event.
For your event or celebration, you can easily arrange these 1-2 days before your event, and as long as you top up the water inside the vase, this will last you a couple of days more!
** SIDE NOTE: Before committing to a DIY project, it’s important that you evaluate what’s on your plate and estimate how much time it will take you to complete a task.
By the same token, also consider “phantom costs” associated with DIY projects like supplies. packaging, storing, transportation, and most importantly, being open to mistakes and re-doing things, which means you might need to re-purchase things to start over.
Here’s a more detailed “how to” guide to help you pull this design together!
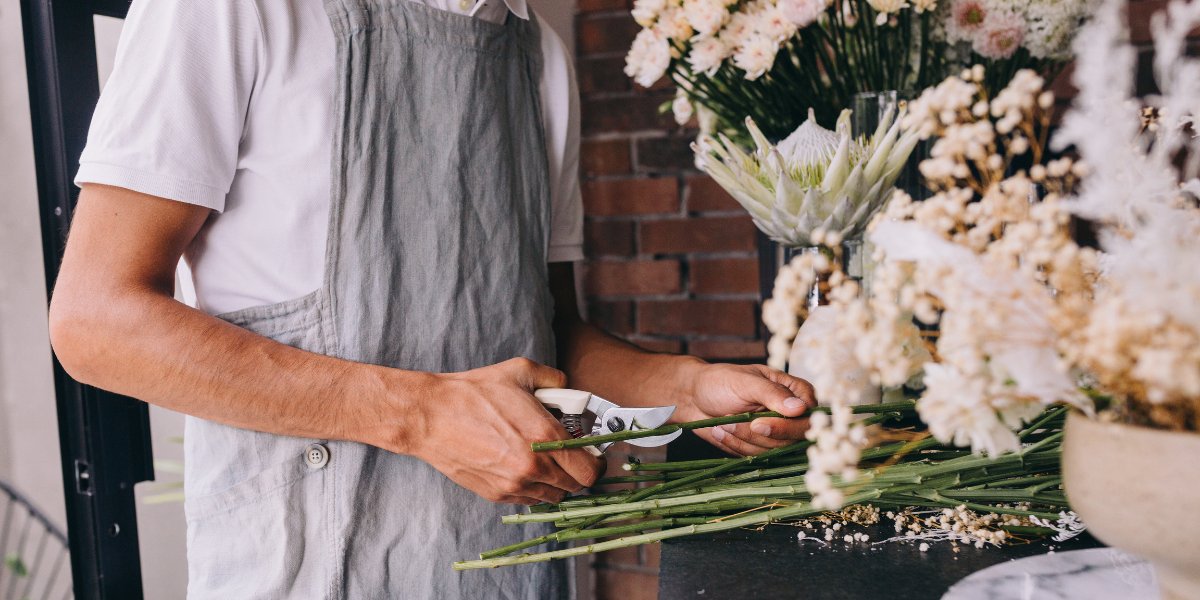
DIY Hydrangea Wedding Centerpiece: How To Make

Ordering blooms and supplies
Start by purchasing your hydrangeas and Ruscus greeneries. Our go-to places are JR Roses and Costco.
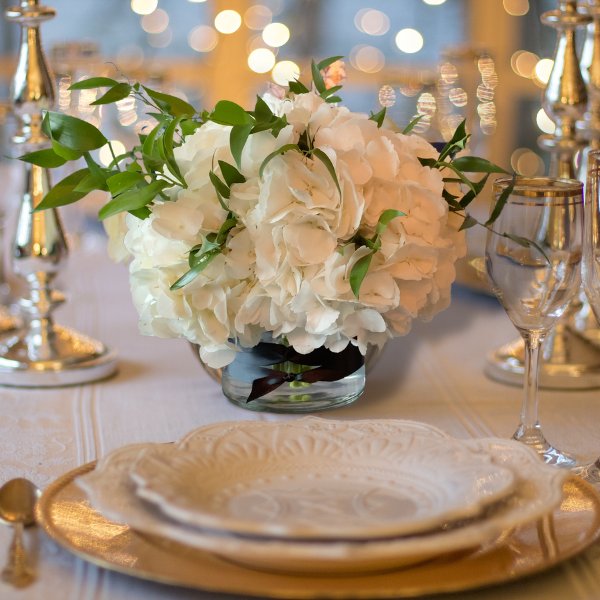
We are using 6-7 hydrangeas in a 5” cylinder.
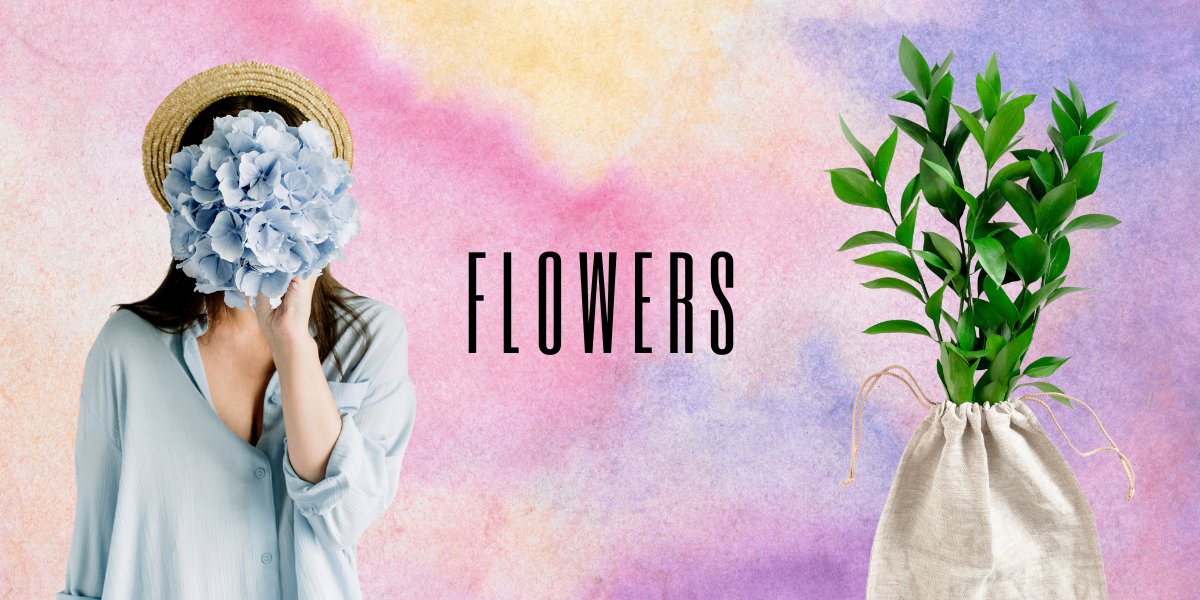
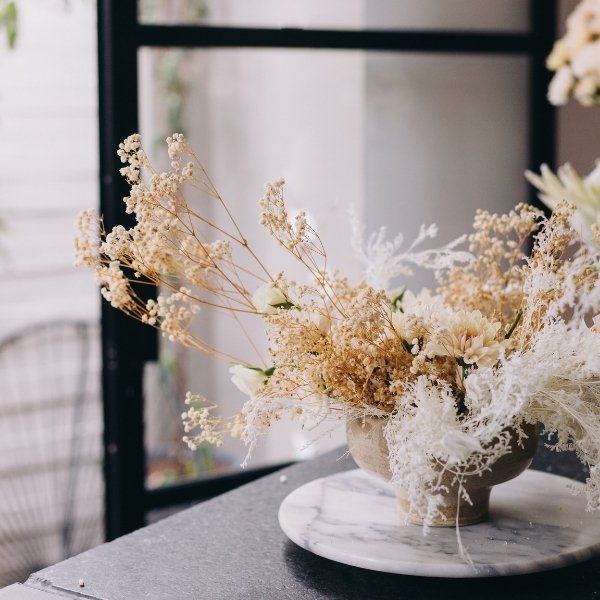
You can also purchase dried/preserved hydrangeas and Ruscus if you’d like to avoid filling up the centerpiece vase with water.
A bundle of Ruscus comes in 10 usually (check where you are buying them from to ensure that the variety you are getting is the one that has 10 stems).
Hydrangeas can be purchased by 10’s. It’s always great to have extras just in case some stems break off.
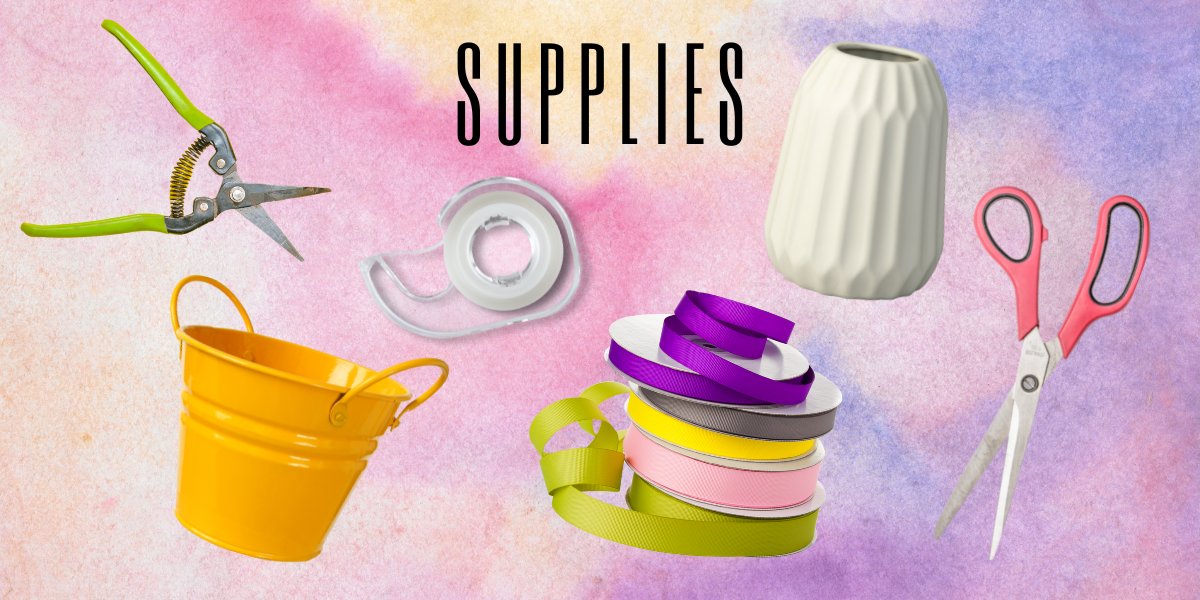
The supplies you’ll need are buckets/pails, ribbons, scissors, pruners, and waterproof tape.
How many flowers do you need?
As mentioned, we are using 6-7 hydrangeas with 5-6 Ruscus greenery inserts per centerpiece.
If you are making 10 centerpieces, here is how you can calculate it:
Hydrangeas: 7 stems x 10 tables = 70 stems (add 5 or 10 stems for padding)
Italian Ruscus: 6 inserts (shorter stems) x 10 tables = 60 inserts
** 1 bunch of Ruscus has 10 long stems
** 1 long stem of Ruscus can be cut into 3 (5-6 inch) shorter stems
** 60 inserts divided by 3 per longer stem = 20 stems
This means you’ll need 2 bunches of Italian Ruscus. Add 1 more bunch (you can only order in bunches) just to have extra on hand.
These extras are also good to use for “practice” if this is your first time doing it.
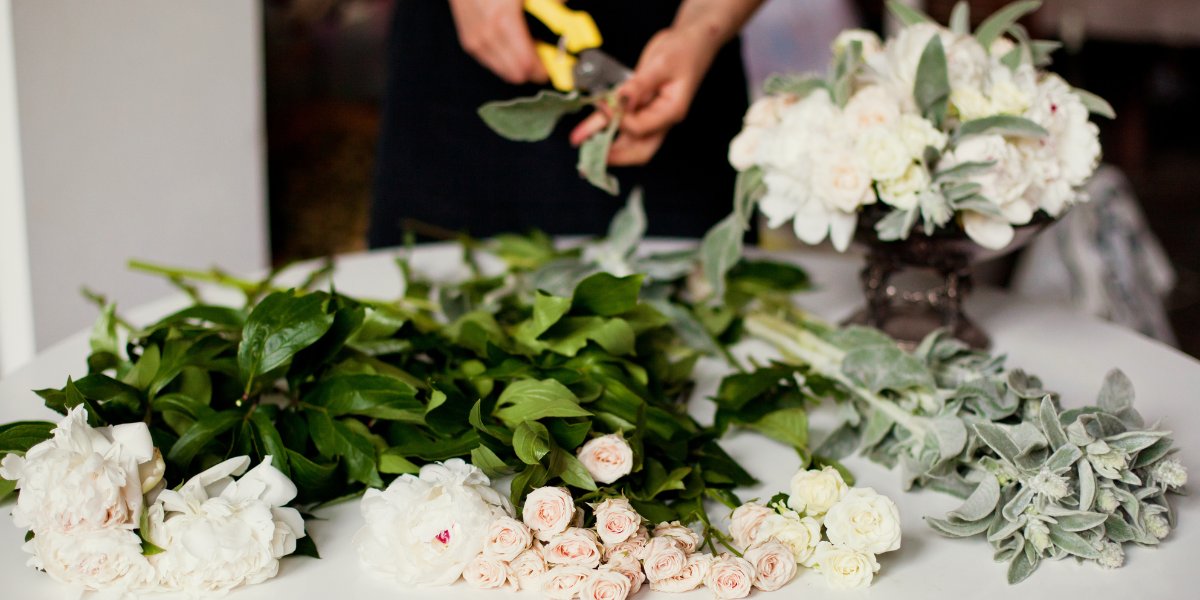
Process and prep (important to note when making your DIY Hydrangea Centerpiece)
Once you receive your flowers, you will need to process and prep them before you start arranging them.
Hydrangeas are very thirsty flowers and they need to be in the water all the time. Literally.
This is why you will receive wholesale hydrangeas with water picks to ensure they have a water source even during transport.
Gently break off the leaves from the stem.
Cut the stem on top of the water pick before you place them in a bucket of water.
When leaving the hydrangeas in the buckets overnight and you will find that they have bloomed more the next day. Even after leaving them for 3-4 hours in the water, you will see how they open up nicely.
For the Italian Ruscus, you can give them a fresh cut at the stems and also let them sit in the bucket of water.
** If you are arranging at the venue, you can bring the buckets of hydrangeas, pre-cut Ruscus, and supplies with you at the venue.
Time to arrange (DIY Hydrangea Wedding Centerpiece)
The easiest and fastest way to arrange these blooms, especially if you are transporting them, is to pre-bundle them.
** Italian Ruscus has quite a long stem and if you are using them as inserts only, you can cut off 3-4 pieces of 5-6 inch long shorter stems.
Here’s a video to help you create the bundle beautifully!
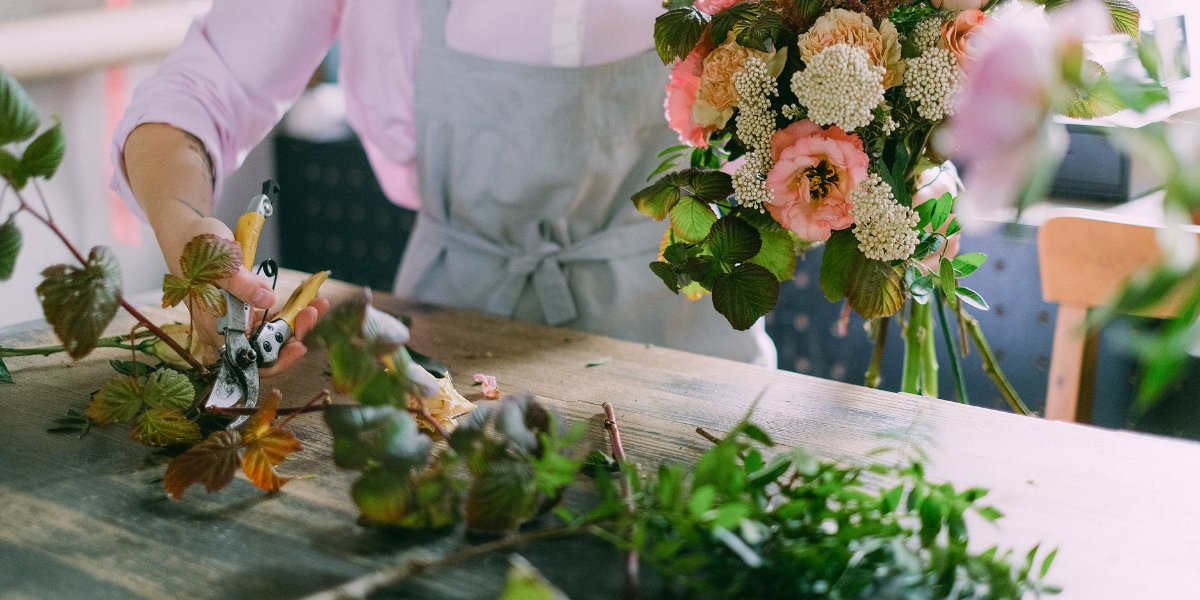
Arranging Tips
- Pre-bundle the hydrangeas using waterproof tape
- Tape the stems 3 times (see video for placement) – one right underneath the blooms, 3-4 inches below and one final tape to just keep the bottom stems together
- Cut them according to how high you like the arrangements to sit. In the video, we cut it about an inch above the bottom of the vase
- Add the pre-cut Ruscus and insert them into the bundle depending on how you like them. You can add as much or as little as you’d like.
Finishing Touches
You might be bothered by the tape showing at the bottom. If you have a lot of things like flatware and glassware on the table, the stems won’t be noticeable.
However, we do understand that you might not want the tape to be visible at all. And not to worry!
Wrapping a ribbon at the bottom of the vase will not only hide the tape on the stems but also add a pop of color!
Use the ribbon to incorporate your accent or theme color to make the overall design cohesive!
Transporting
If you are taking them to your venue, line up your trunk (or wherever you’re putting them) with rubber liners.
These liners will stop them from moving around which will help avoid breakage.

For DIY centerpieces, you can store the finished products in boxes from your local hardware store with rubber non-slip liners for dry centerpieces.
If you are filling up the vase with water, only fill it out halfway through so the water won’t spill while in transit.
Looking for boxes that you can stack will make it easier for you to transport them. Non-slip rubber liners in between boxes will be your best friend to avoid any slipping while in transport.
If you are not able to stack, you can pre-bundle the flowers using pipe cleaners and stack them gently in a box. This way, when you get to the venue, you can assemble, fluff, and set them up easier and faster.
Don’t forget to label boxes and have a “visual” sample of how things are supposed to be set up as a reference.
DIY hydrangea centerpieces are a great idea because they offer beauty, personalization, fun, cost savings, and simplicity. They allow you to create a stunning, customized look for your wedding while enjoying the process and staying within your budget.
There you are lovelies! DIY Hydrangea Wedding Centerpiece: How To Make Tips!
** This post has Amazon links and as an Amazon Associate, Wedding Planning Resources earns from qualifying purchases.

