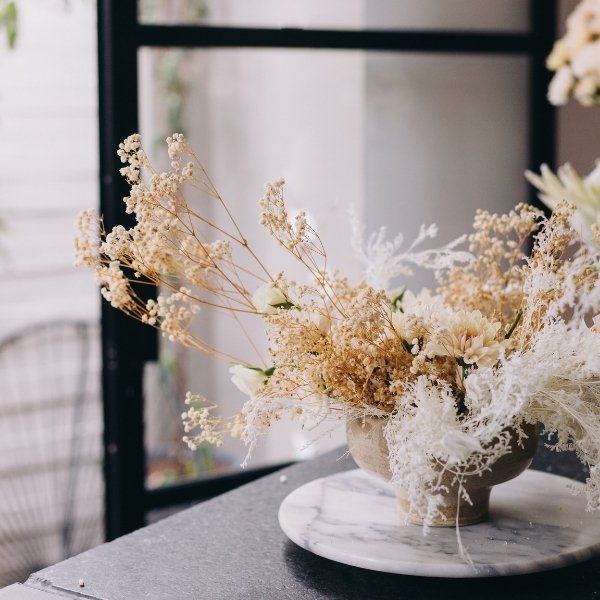
Dried Flowers Wedding: DIY. Unique, preserved, beautiful. Planning to DIY your wedding flower arrangements and use dried flowers? Maybe not just as wedding centerpieces but also as bouquets!
This site contains affiliate links. For more info, please see our full disclosure.
When talking about wedding flowers, one would imagine arrangements with lush greeneries and flowers in full bloom. However, if you’re looking for unique flower arrangements, you could consider using dried flowers for your big day.
In the realm of wedding florals, dried flowers are emerging as a timeless and sustainable trend, offering a unique charm that lasts long after the vows are exchanged.
Dried florals are turning out to be a trend. Not only are they a trend, but because of these DIY dried flower arrangements’ longevity, their usage + purpose goes well beyond the wedding day alone.
Why should you consider dried flowers?
1. If you are thinking of a dried flower bouquet for your wedding, then you are looking at a manageable DIY project. Super easy to work with! Of course, this depends on the variety and type you will be using, but they are manageable for the most part—lots of beauty for minimal effort.
We would say even for the not-so-experienced decorator; you can set up one table for under 5 minutes. If you need extra prep on the dried flowers, it will be a little longer, about 6-8 minutes. But definitely under 10 minutes!
2. If you are planning a backyard wedding or a micro + intimate wedding, you can RE-PURPOSE these babies as home decor!
This is one of the beauties of dried and preserved flowers; it goes a long way! Also, super easy to package; all of it can go in a huge clear bag!
From dried hydrangeas, baby’s breath, lavender to eucalyptus leaves, and wheat grasses, there are plenty of dried florals you can work with.
While they are less vibrant and fragrant than fresh ones, dried flowers are equally stunning—their texturized feel always adds a unique rustic vibe.
To give you some ideas, we’ve rounded up quick and easy dried flower arrangements you can DIY for your wedding!

Dried Flowers Wedding: DIY:
Bouquets
Look at how the neutral colors of the dried/preserved flowers, leaves, and grass all tie up into a charming bridal arrangement! Here are our fave QUICK & EASY DIY bundle bouquet ideas!

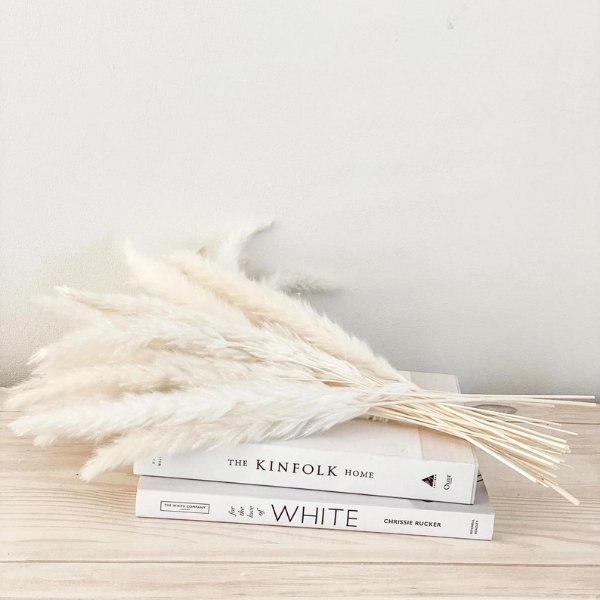
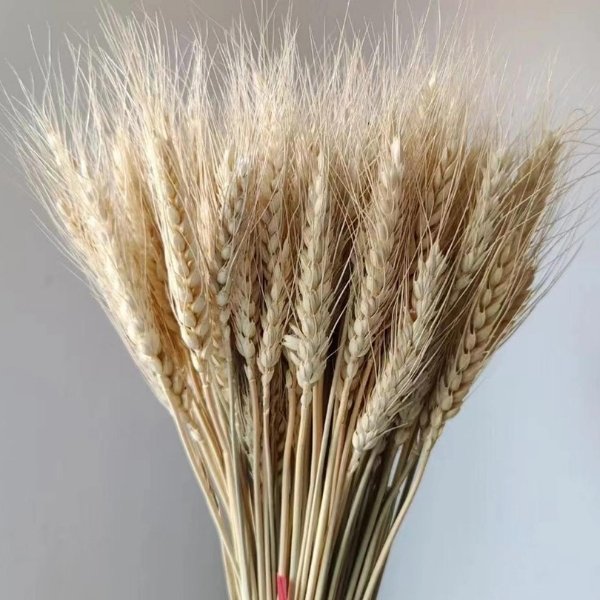
1. This gorgeous wheatgrass bouquet is love! Unique and rustic, but with the right accessory, you can make it rustic glam! (see below for tips!)
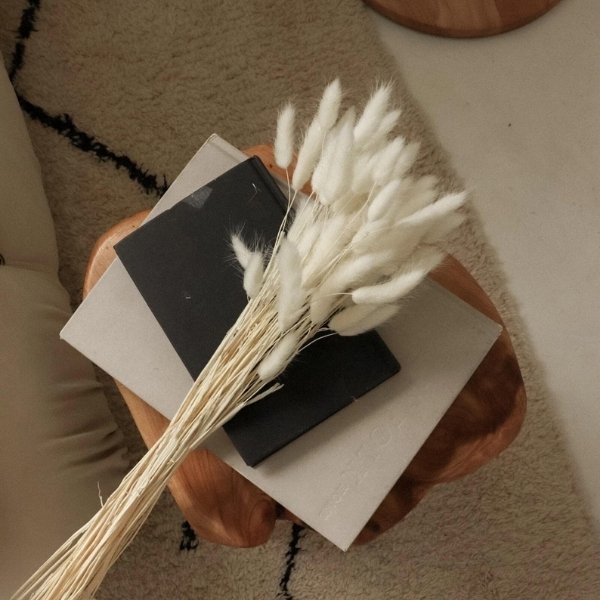
2. You can purchase this wheat bouquet already bundled! How amazing is that? It saves you tons of time; you can order way ahead of your wedding day, add your favorite accessories, and voila! Your gorgeous wheat bouquet is ready for your wedding!
You can wrap it with burlap, or if you want to make it rustic glam, you can wrap it with satin white ribbon and add some bling to it! This bouquet is really flexible!
There are lots of beautiful pre-bundled dried flowers over at Etsy!
PRO TIP 1: Don’t forget to use pins to ensure the ribbon stays in place! Towards the end of the ribbon wrap, you tuck the end inwards and poke the pins through, so don’t have a rough cut edge. You can line them up, one at the top, one around the middle, and one at the bottom.
PRO TIP 2: If you are planning a micro/intimate wedding with no bridal party and are also using these ribbons for corsage and boutonnieres to work on DIY dried flower arrangements, you can opt to buy a thinner ribbon (1/2″), this way you can use it not just for your bouquet but also your corsages and boutonnières. This means you won’t have many different-sized ribbons hanging around after your DIY wedding project.
3. Are you looking for some variety in your bouquet? This one has a mix of wheatgrass, lavender, Craspedia ball, and other varieties that will add more texture and volume to your DIY dried flower arrangement/bouquet!
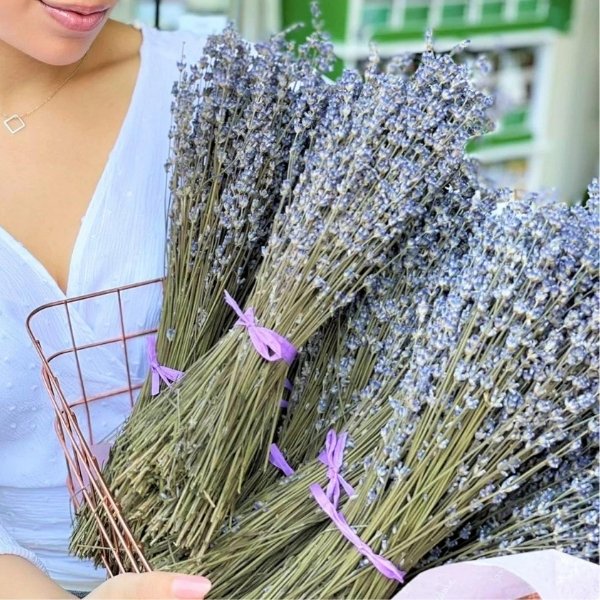
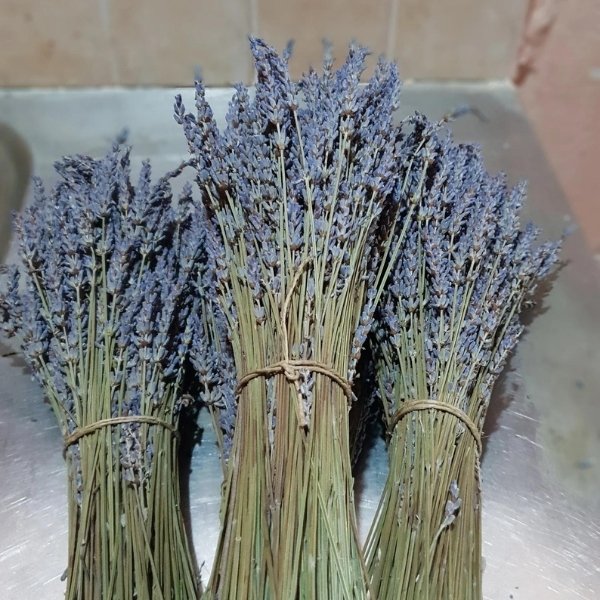
4. Maybe you’d like more of a classic look? This dried lavender bouquet ALWAYS wins! Just enough rustic and sophistication to bring out that classic bride in you! (SIDE TIP: these lavender bunches can shed once you start working with them, make sure to give it a gentle shake to get rid of the little lavender bits!)
5. Maybe add a little drama to your dried lavender bouquet by inserting some wheatgrass in there? Just giving it lots of movement? We love this one captured by Elizabeth Rae found here.
Boutonniere and Corsages
You can use the same varieties from the DIY dried flower arrangements as above! You have to trim them much shorter!

1. Wheatgrass bundle, quick and easy to find on OnceWed.
2. These bouts were beautifully captured by Laura Alpizar.
PRO TIP: If you are able, you can glue the stems together. Make sure you glue only the part that the ribbon will cover! Glue-ing them together gives you that extra “security” that it won’t collapse. It also “strengthens” the stems for when you poke through the corsage pins!
Decor and Centerpieces
For centerpieces and decor, let’s add some height, shall we?

1. This centerpiece is from an event seen on Ashley & Emily.
2. This beautiful pampas grass-filled wedding is seen on June Bug Weddings.
3. Gorgeous fluffy centerpiece as seen on My Engaged Life.
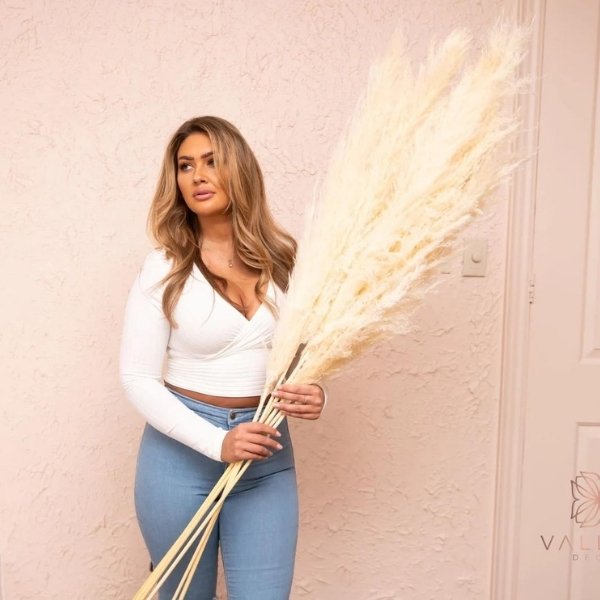
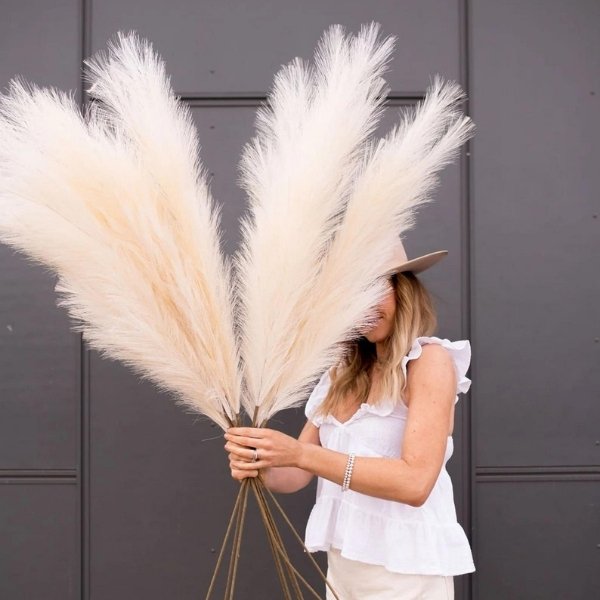
These super easy pampas grass centerpieces are always a crowd-pleaser; also, such an EASY & QUICK DIY dried flower arrangement that you can do!
Literally, get a vase of your choice from your discount/dollar store, then add 2-3 stems of pampas grass. Pampas grass comes in different sizes; ensure that you are buying the right size and height for the look you are going for!
PRO TIP 1: Pampas grass is usually shipped in a bundle, and it comes very tightly wrapped in plastic. To fluff it, use a hairdryer (low heat) to soften it and make it easier for you to fluff it. The fluffier, the better!

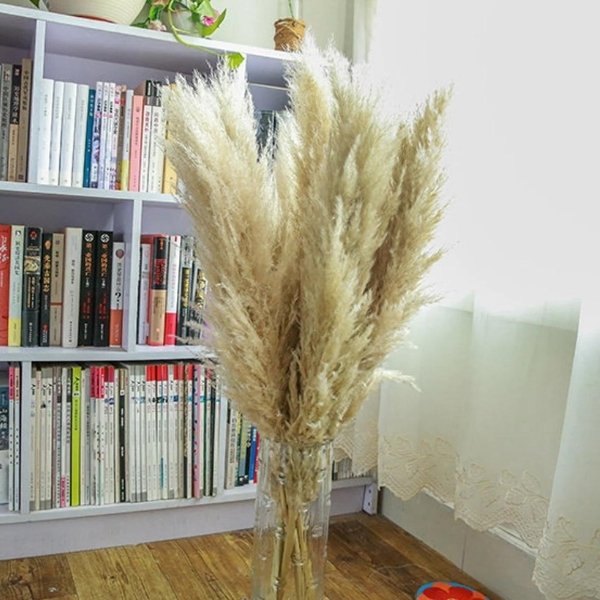
1. Let’s start with the classic light beige colored pampas grass! Always been one of our faves!
2. Here’s a darker version of pampas grass that you can use to use many gold elements on the table. Creating contrast is always a good idea so that the combos won’t look flat!
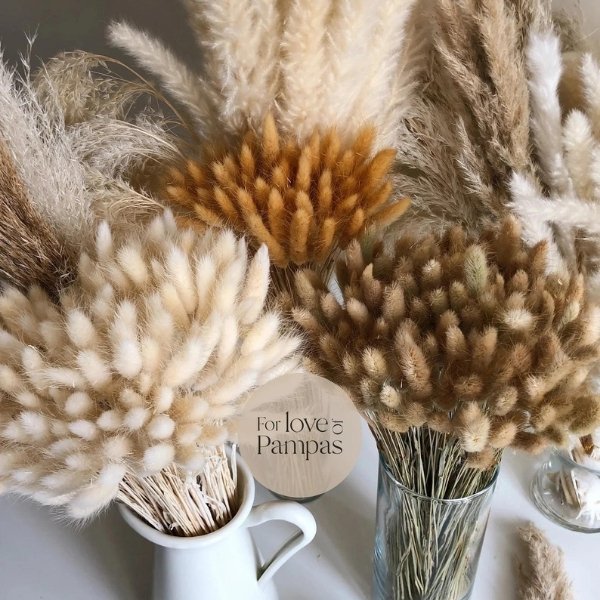
3. Not feeling the beige/brown vibe of the pampas grass? Check out this bleached variety mix! You get lots of textures and heights!
4. Maybe just the pampas grass alone bearing all the beige/brown tones is a little too simple for you? Here’s a dried mixed variety with lots of texture that can cover a bigger area (especially when spread out!)
There are lots of beautiful pre-bundled dried flowers over at Etsy! Definitely a great way to tackle your Dried Flowers Wedding: DIY projects!
PRO TIP 2: When working with DIY dried flower arrangements, and you’d like them to look more spread out, opt for a vase that has a wider opening; this way, the stems will be spread out more, covering more area; giving that illusion that it is bigger. Insert them into the vase sideways around the rim first, and build from there.
PRO TIP 3: If you are working with a rectangular table, try using vases with multiple heights, and also cut the pampas grass (or your choice of any dried flower variety!) accordingly to create a high-low effect, adding movement to your table.
PRO TIP 4: If you are using a mix or looking to design your own bundle, you can pre-design and pre-make the bundles and tie them together using chenille stems/pipe cleaner. This will make it easier to set it up on the day of your wedding!
This DIY guide and the right materials/products of your choice are all you need to create these super easy and gorgeous DIY dried flower arrangements and décor for your wedding.

Before committing to a DIY project, you must evaluate what’s on your plate and estimate how much time it will take you to complete a task.
By the same token, also consider “phantom costs” associated with DIY projects like supplies. packaging, storing, transportation, and most importantly, being open to mistakes and re-doing things, which means you might need to re-purchase things to start over.

