Flower Grouping Centerpiece Ideas: DIY. Always better together! Looking for beautiful, modern, and affordable wedding centerpieces? These centerpieces are pretty, but you can also easily DIY them if you’d like!
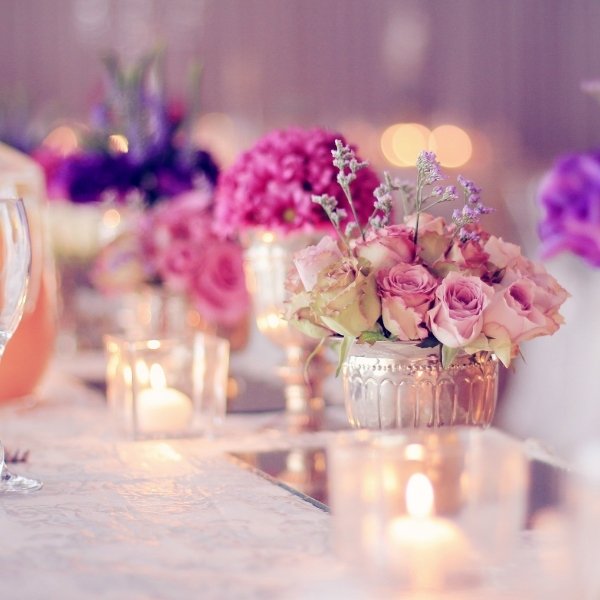
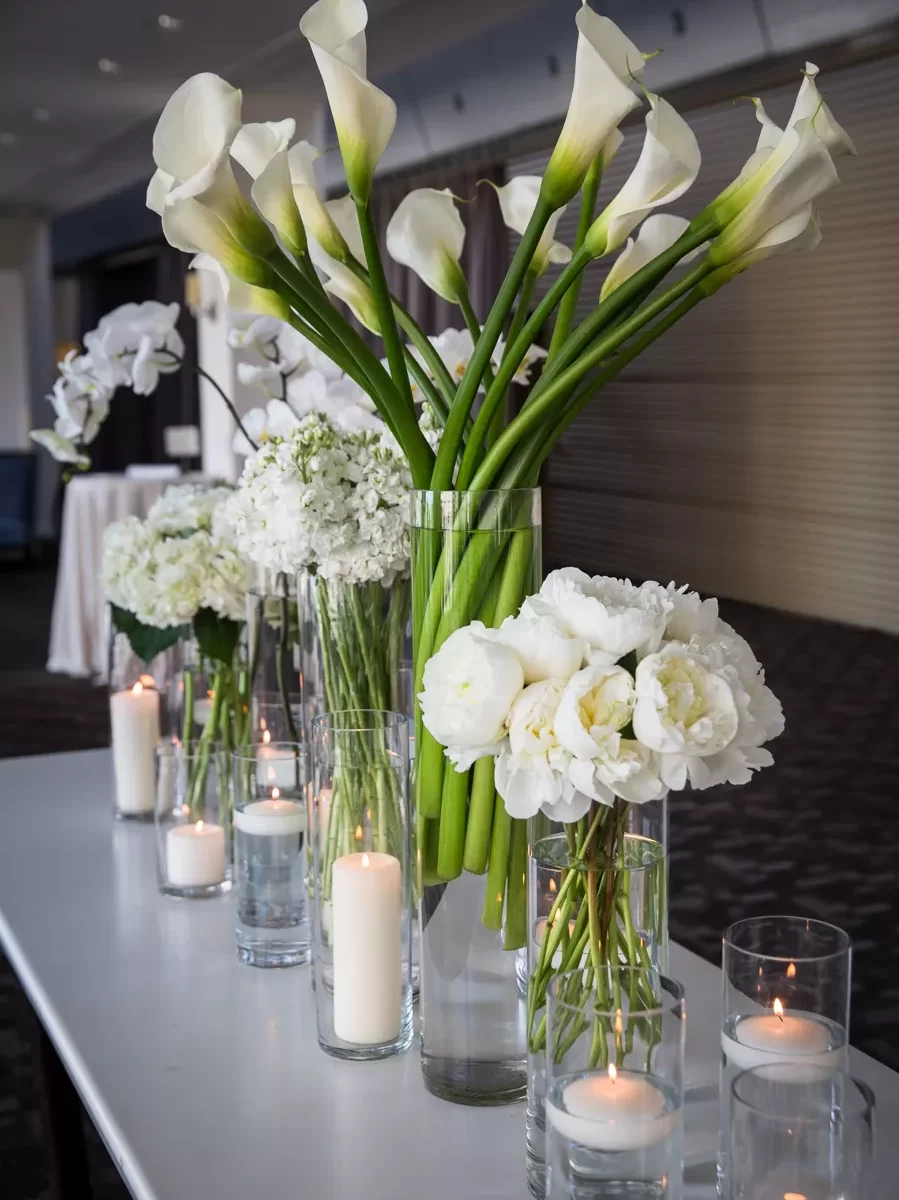
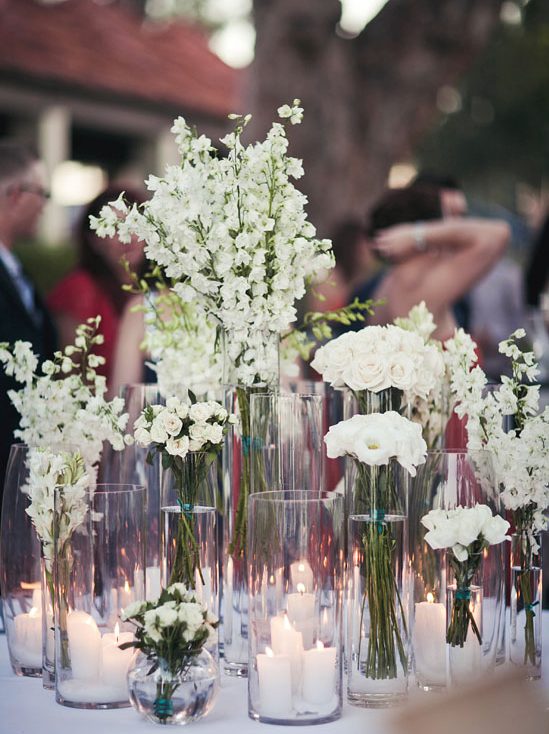
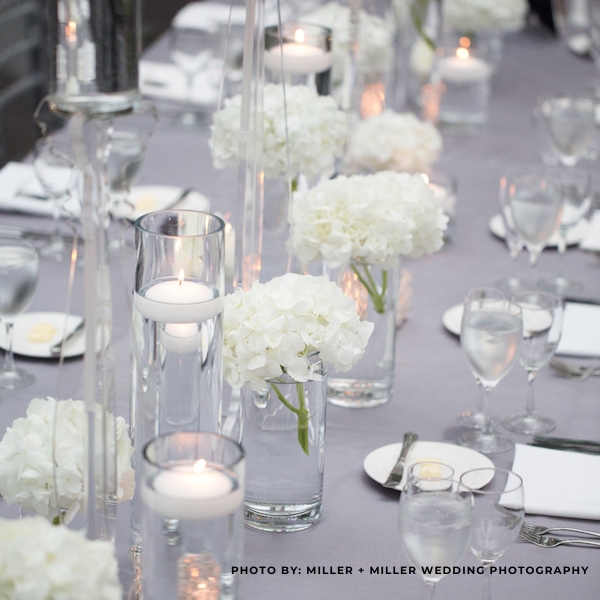
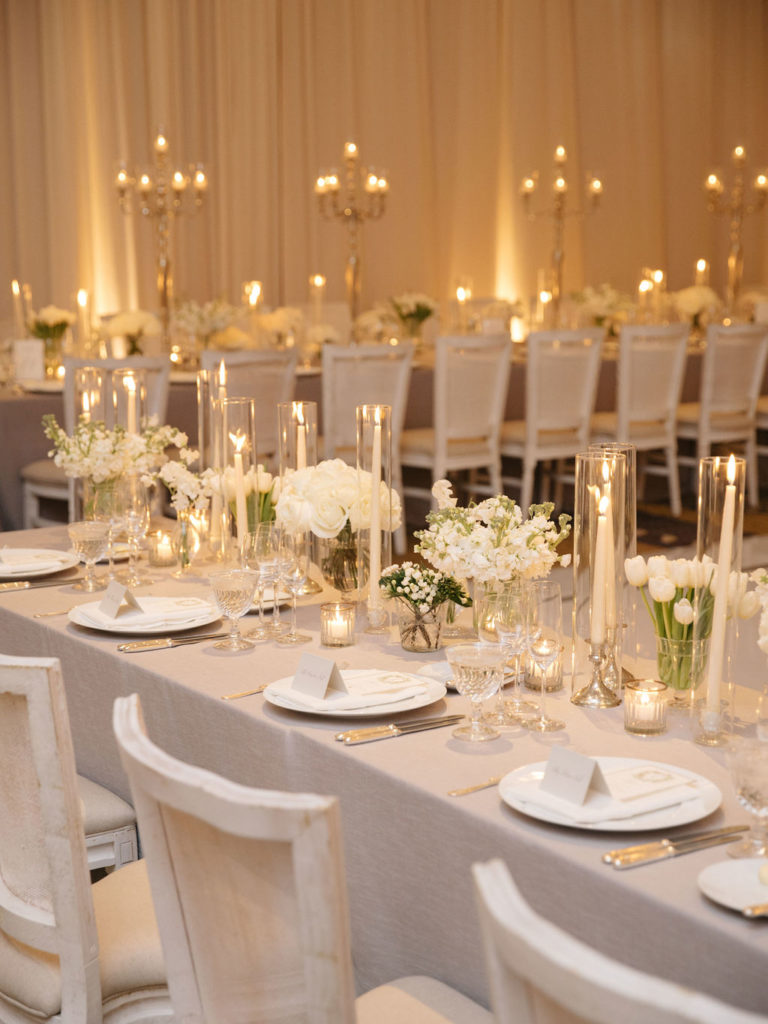
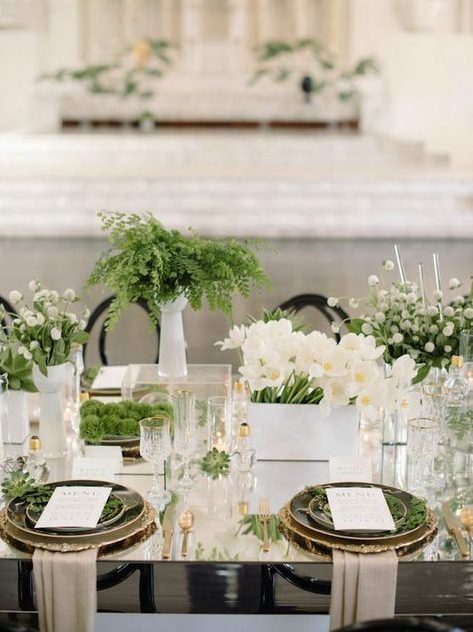
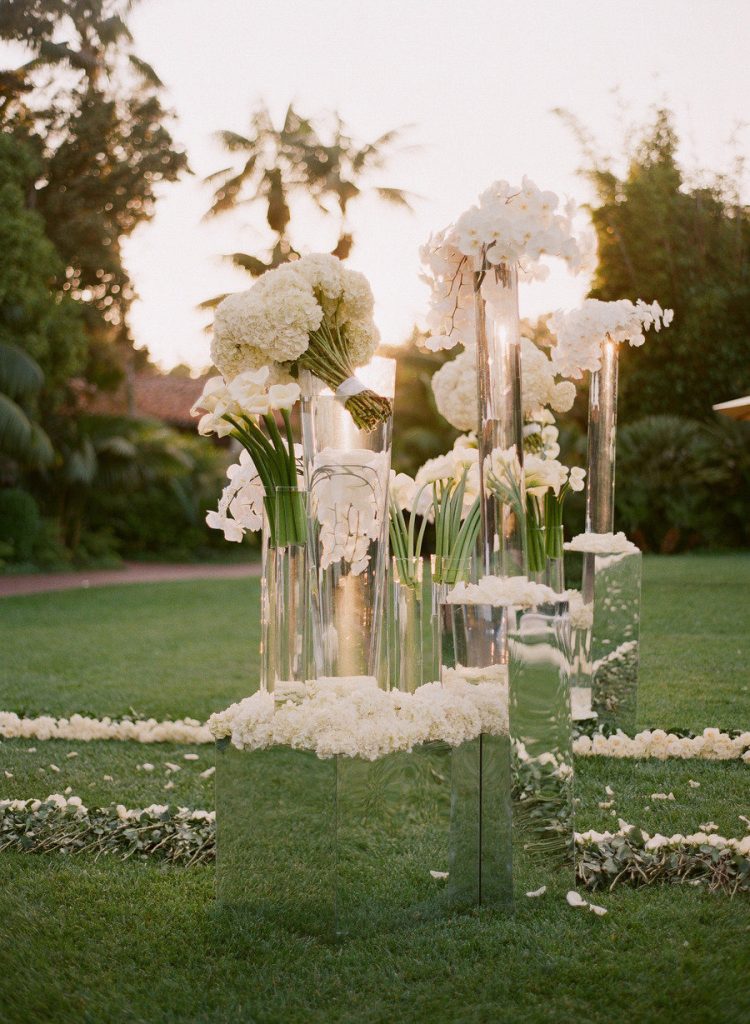
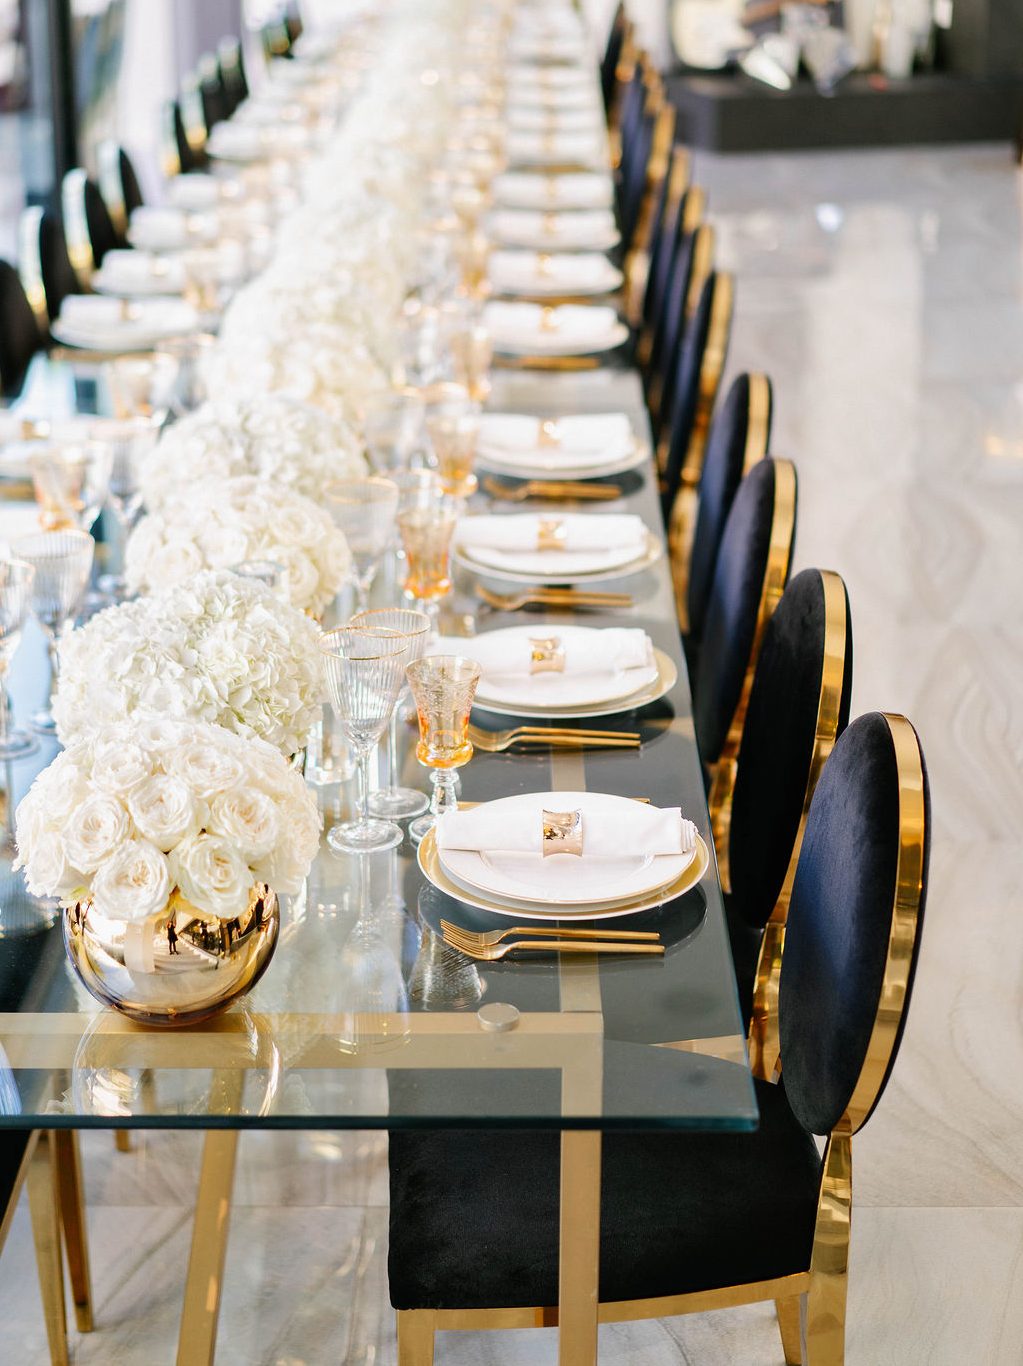
You’ll find classic and elegant blooms like peonies, roses, ranunculus, anemones, garden roses, calla lilies, stock, orchids, and tulips in this inspiration spread. You’ll find baby’s breath, hydrangeas, and greeneries for the boho-chic and rustic.
You can pull this off with no problem because of how easily you can put this together, which also includes how to package and transport them, whether you are a floral pro or a beginner!
** SIDE NOTE: Before committing to a DIY project, it’s important that you evaluate what’s on your plate and estimate how much time it will take you to complete a task.
By the same token, also consider “phantom costs” associated with DIY projects like supplies. packaging, storing, transportation, and most importantly, being open to mistakes and re-doing things, which means you might need to re-purchase things to start over.
Here are the steps and tips on how to create a DIY flower grouping centerpiece:
Clear vases are the staple centerpiece container. Purchasing the vases in bulk boxes will help you store and transport them as they will already be in boxes.
As opposed to buying them individually, where they will be most likely wrapped in paper. It will be tough to stack and transport if that’s the case.
Keeping them in boxes is the easier way to go. You can check the quality of the vases to ensure they are not broken and measure out how long you’d like the stem to be cut, then seal them back into the boxes for transport at your wedding.
Start by picking your bloom (fresh or dried/preserved). You can pre-bundle them depending on how many you want to group per vase and tape them using waterproof floral tape to keep them together.
Tape around the top part, the stem right below the bloom. If you want them slightly loose instead of tightly grouped, you can tie them temporarily using chenille stems or pipe cleaners.
Remember when we said to measure out the length of the stem? Use a black marker on the stem to indicate where you will be cutting them when it’s time to set them up.
Make sure this is easily found. You can draw a dot or a line across the stem to mark the cutting point.
At this time, don’t cut the stem short. Keep them long enough to be upright when you put them in buckets of water.
Only fill the bucket halfway through, as long as the stems are somewhat dipped in water when transporting.
Choosing collapsible buckets with handles will make it easier for you to carry them around.
Depending on how many people will be helping you set this up, bring the same number of pruners and garbage bags so that each person will be able to cut and have a garbage bag with them so they can cut the stems in it directly. Super easy clean-up!
When you get to the venue, you or whoever is helping you can then start filling the vases with water.
If you are using the bathroom or even the kitchen sink (if the venue allows you! ensure to call ahead and ask!) to fill the vases with water, bring a plastic (non-breakable) vase or small cup so you won’t worry about breaking anything and use that to fill the vases.
This will also ensure that all vases have the same amount of water (i.e. 1 cup of water per vase)
Only fill the vases halfway through, as long as the stem touches the water so it won’t dry up during the wedding or event. But don’t fill it too much.
Remember, you will walk around with these vases, and if they are filled to the top, when the stems are put in them, they are most likely to overflow and spill while you are setting them up.
Venues usually have carts that you can borrow. Of course, you can also bring your own if you have one at home. Tiered carts will help you place more vases at one time.
Check the weight capacity before using. You can have someone open up the vase boxes and line them up in the cart as you fill them with water one at a time.
After each batch, someone can cut the stems and start filling them. Now, as a batch gets completed, you go around to place them on the tables using the cart.
Having pre-folded paper towels handy will help. This way, you can use it to wipe the vases in case some water spills. You won’t want some wet stains on the table linen as well.
Finish the look with some votive candles! If you are adding candles, don’t forget to also bring lighters!
If you are worried about stacking while transporting these products in your vehicle, you can use shelf liners starting from the bottom and in between boxes to avoid them from shifting when you drive. To secure them together, you can also wrap them in saran wrap.
Don’t forget to bring a knife cutter to easily detach the saran wrap when it’s time to unload.
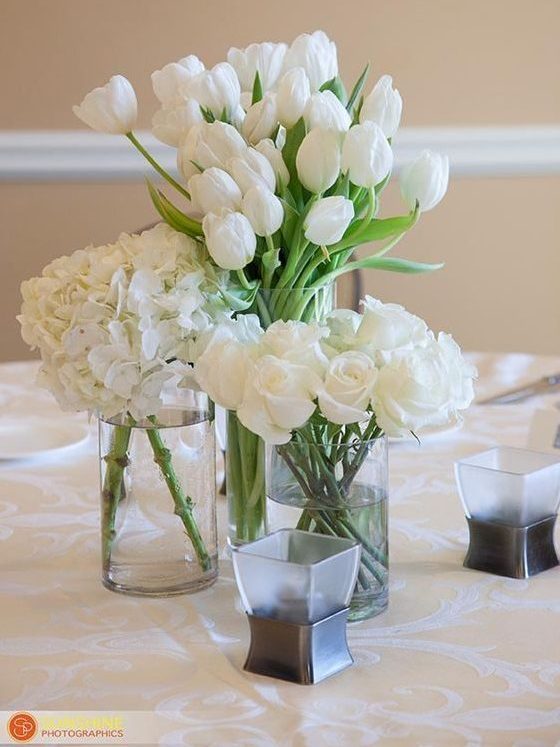
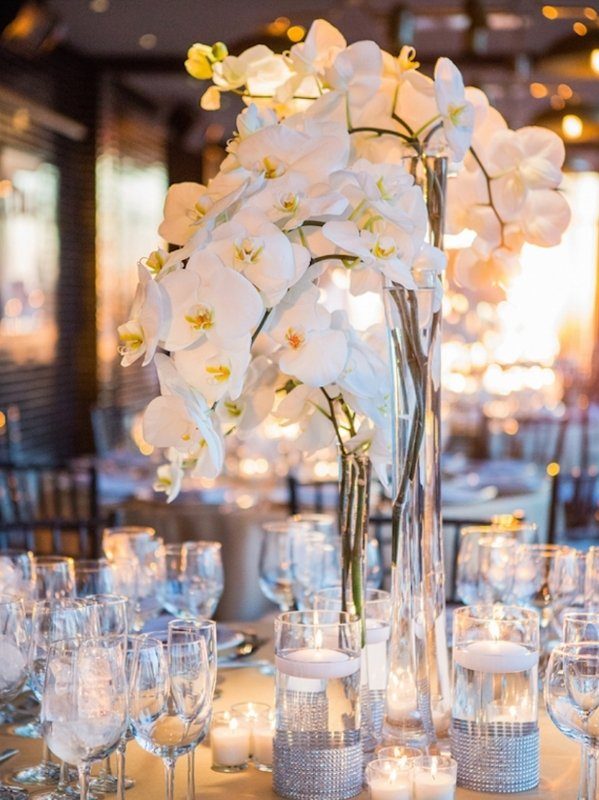
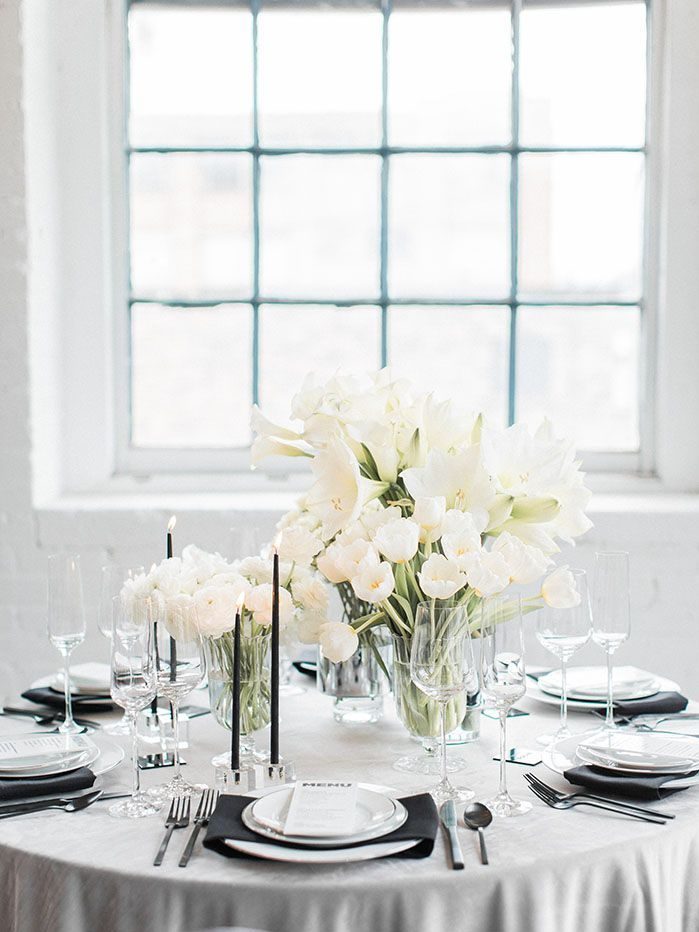
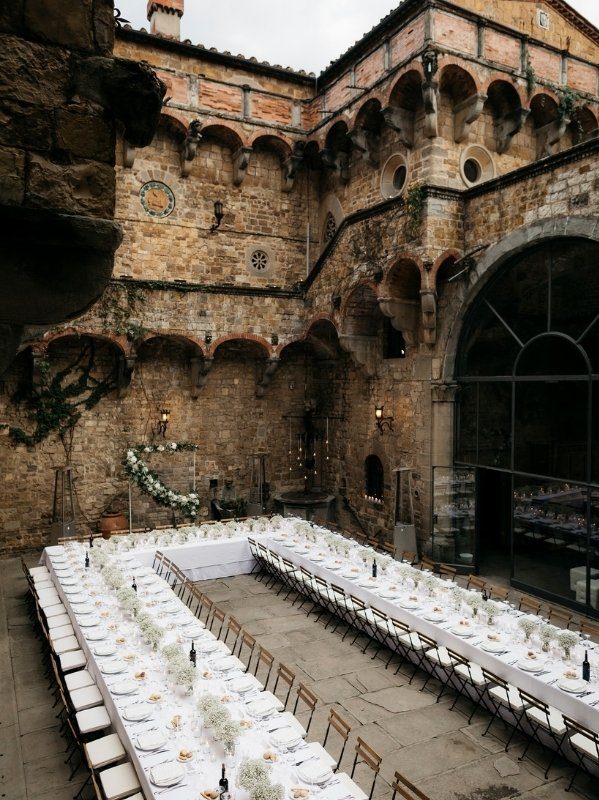
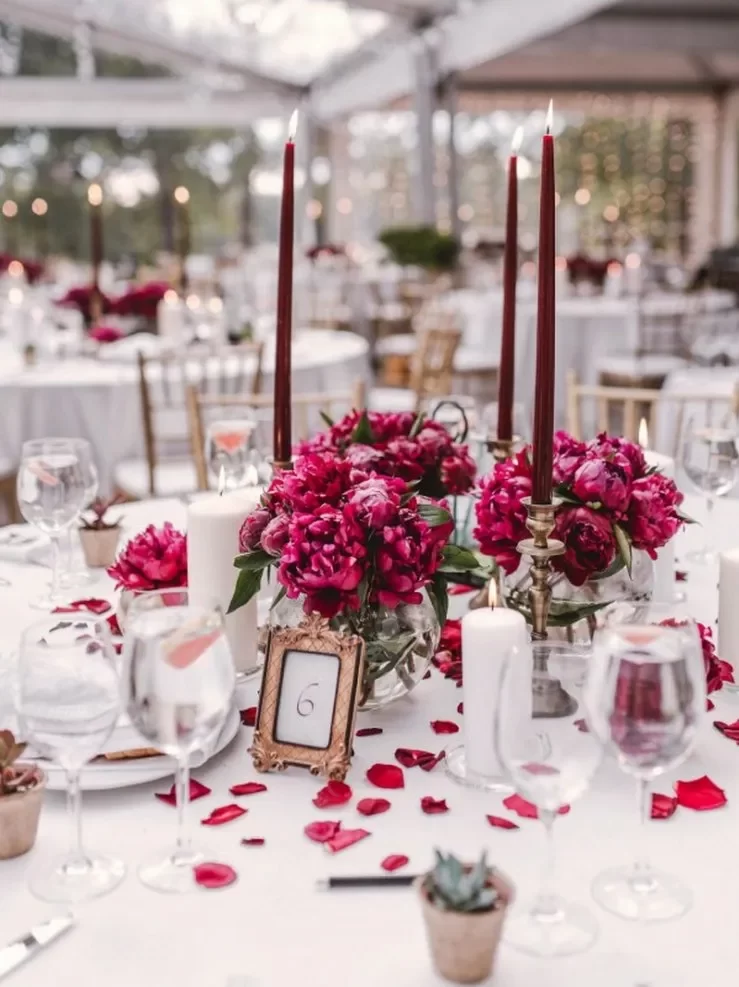
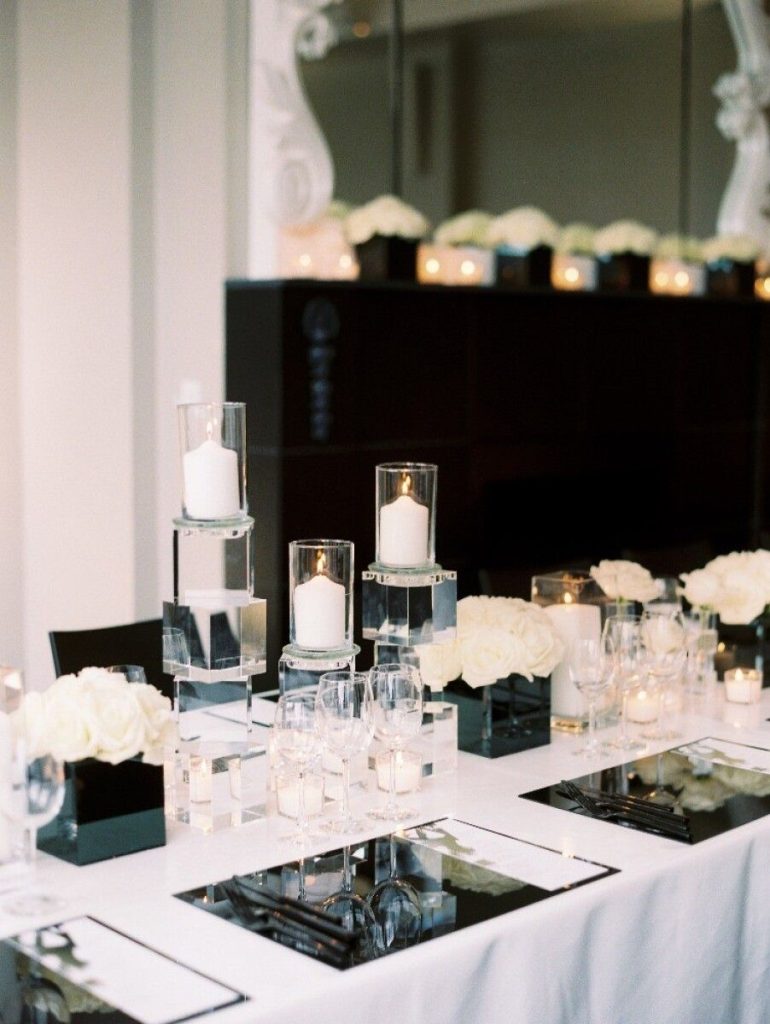
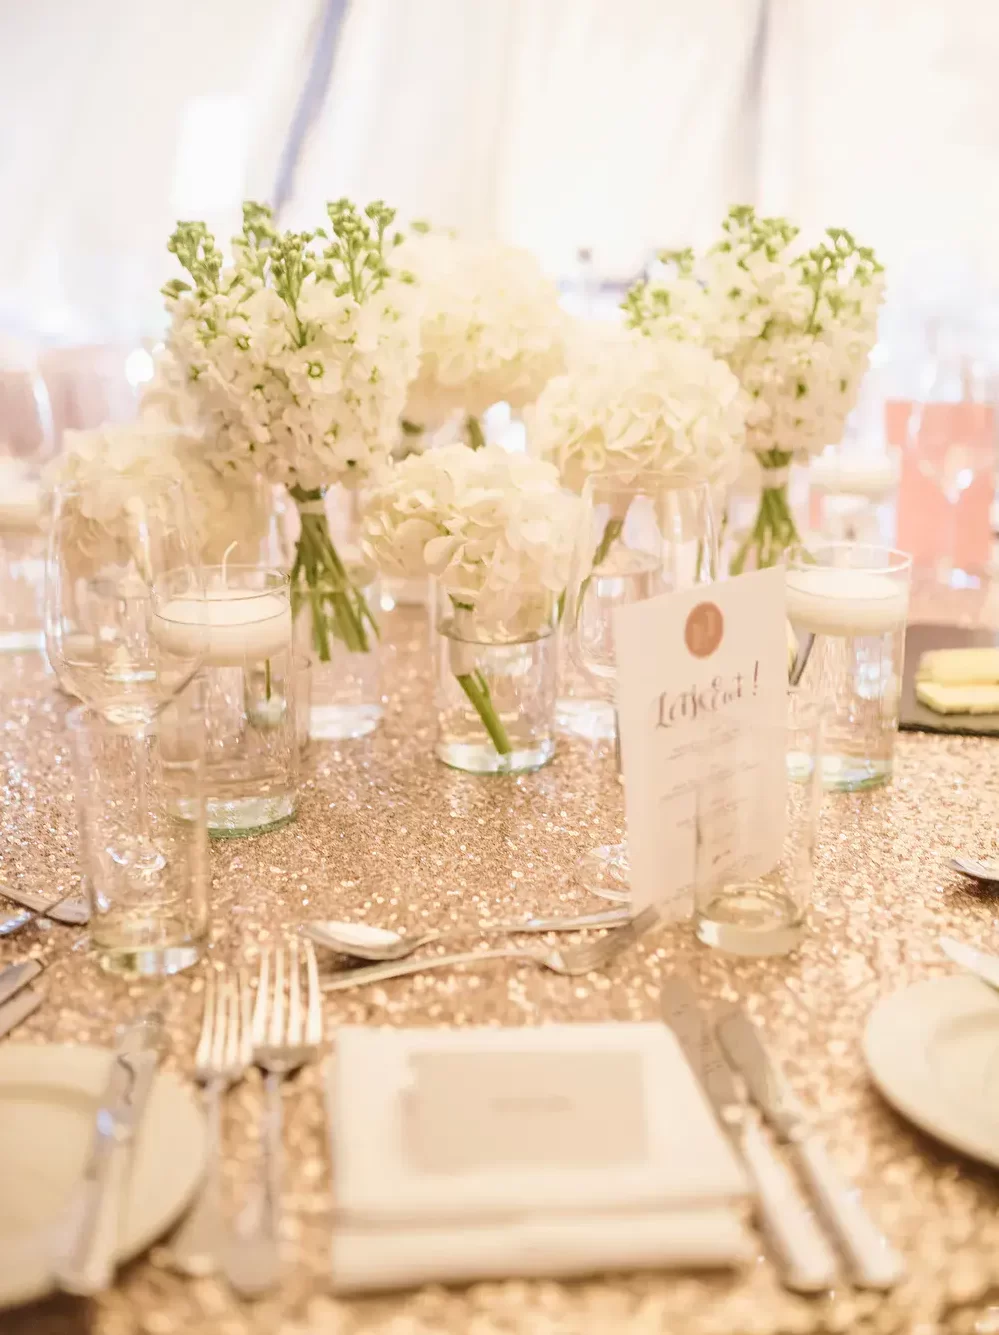
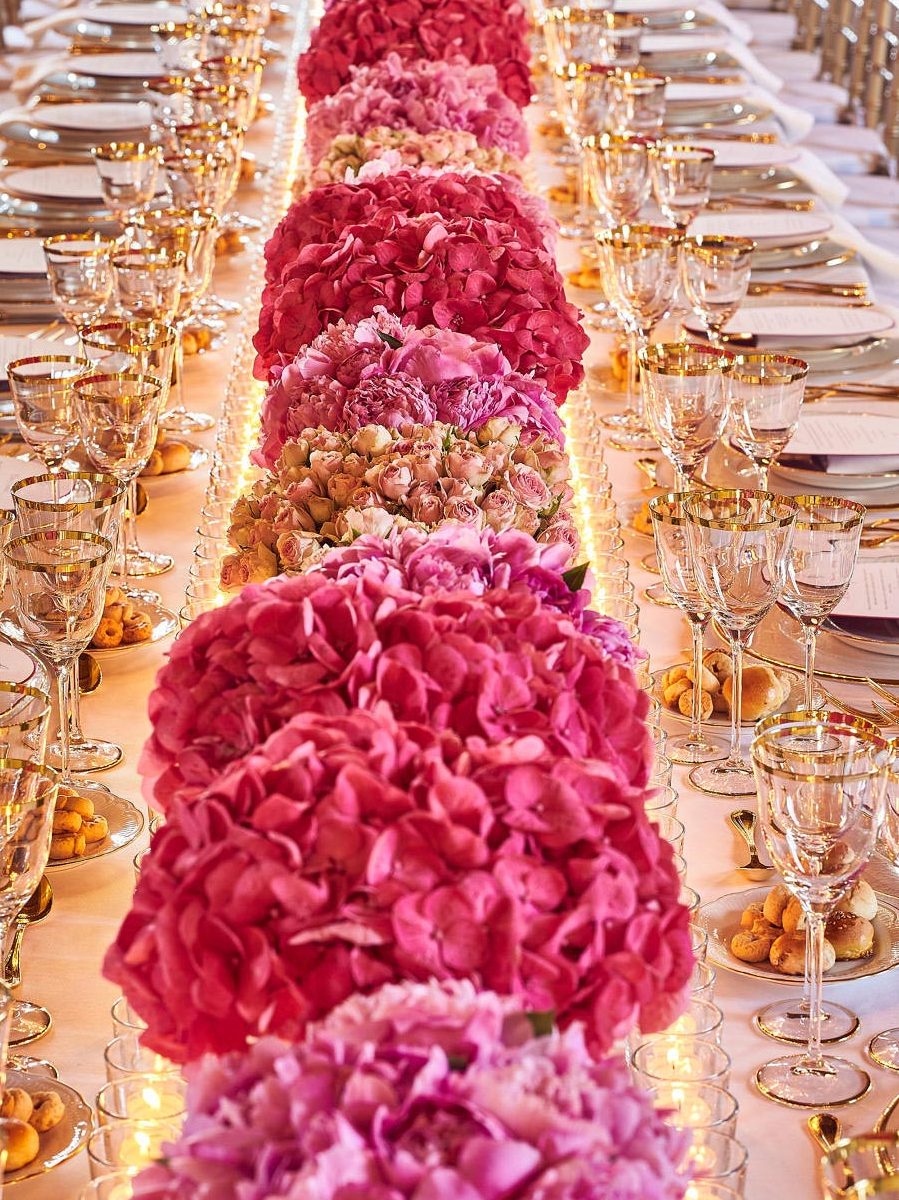
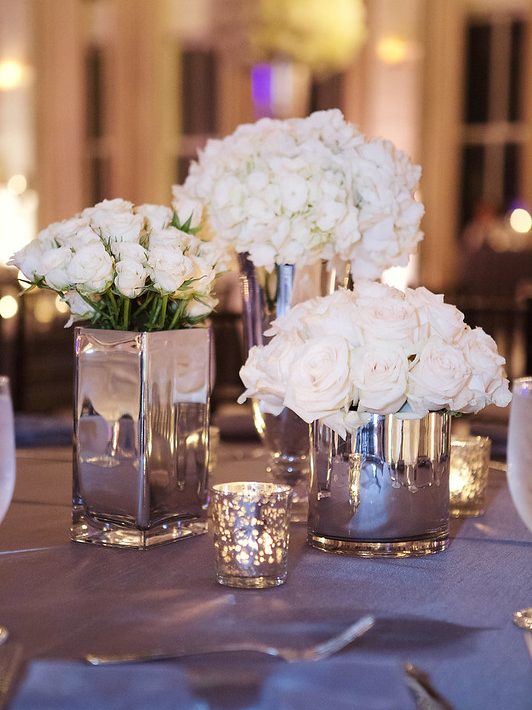
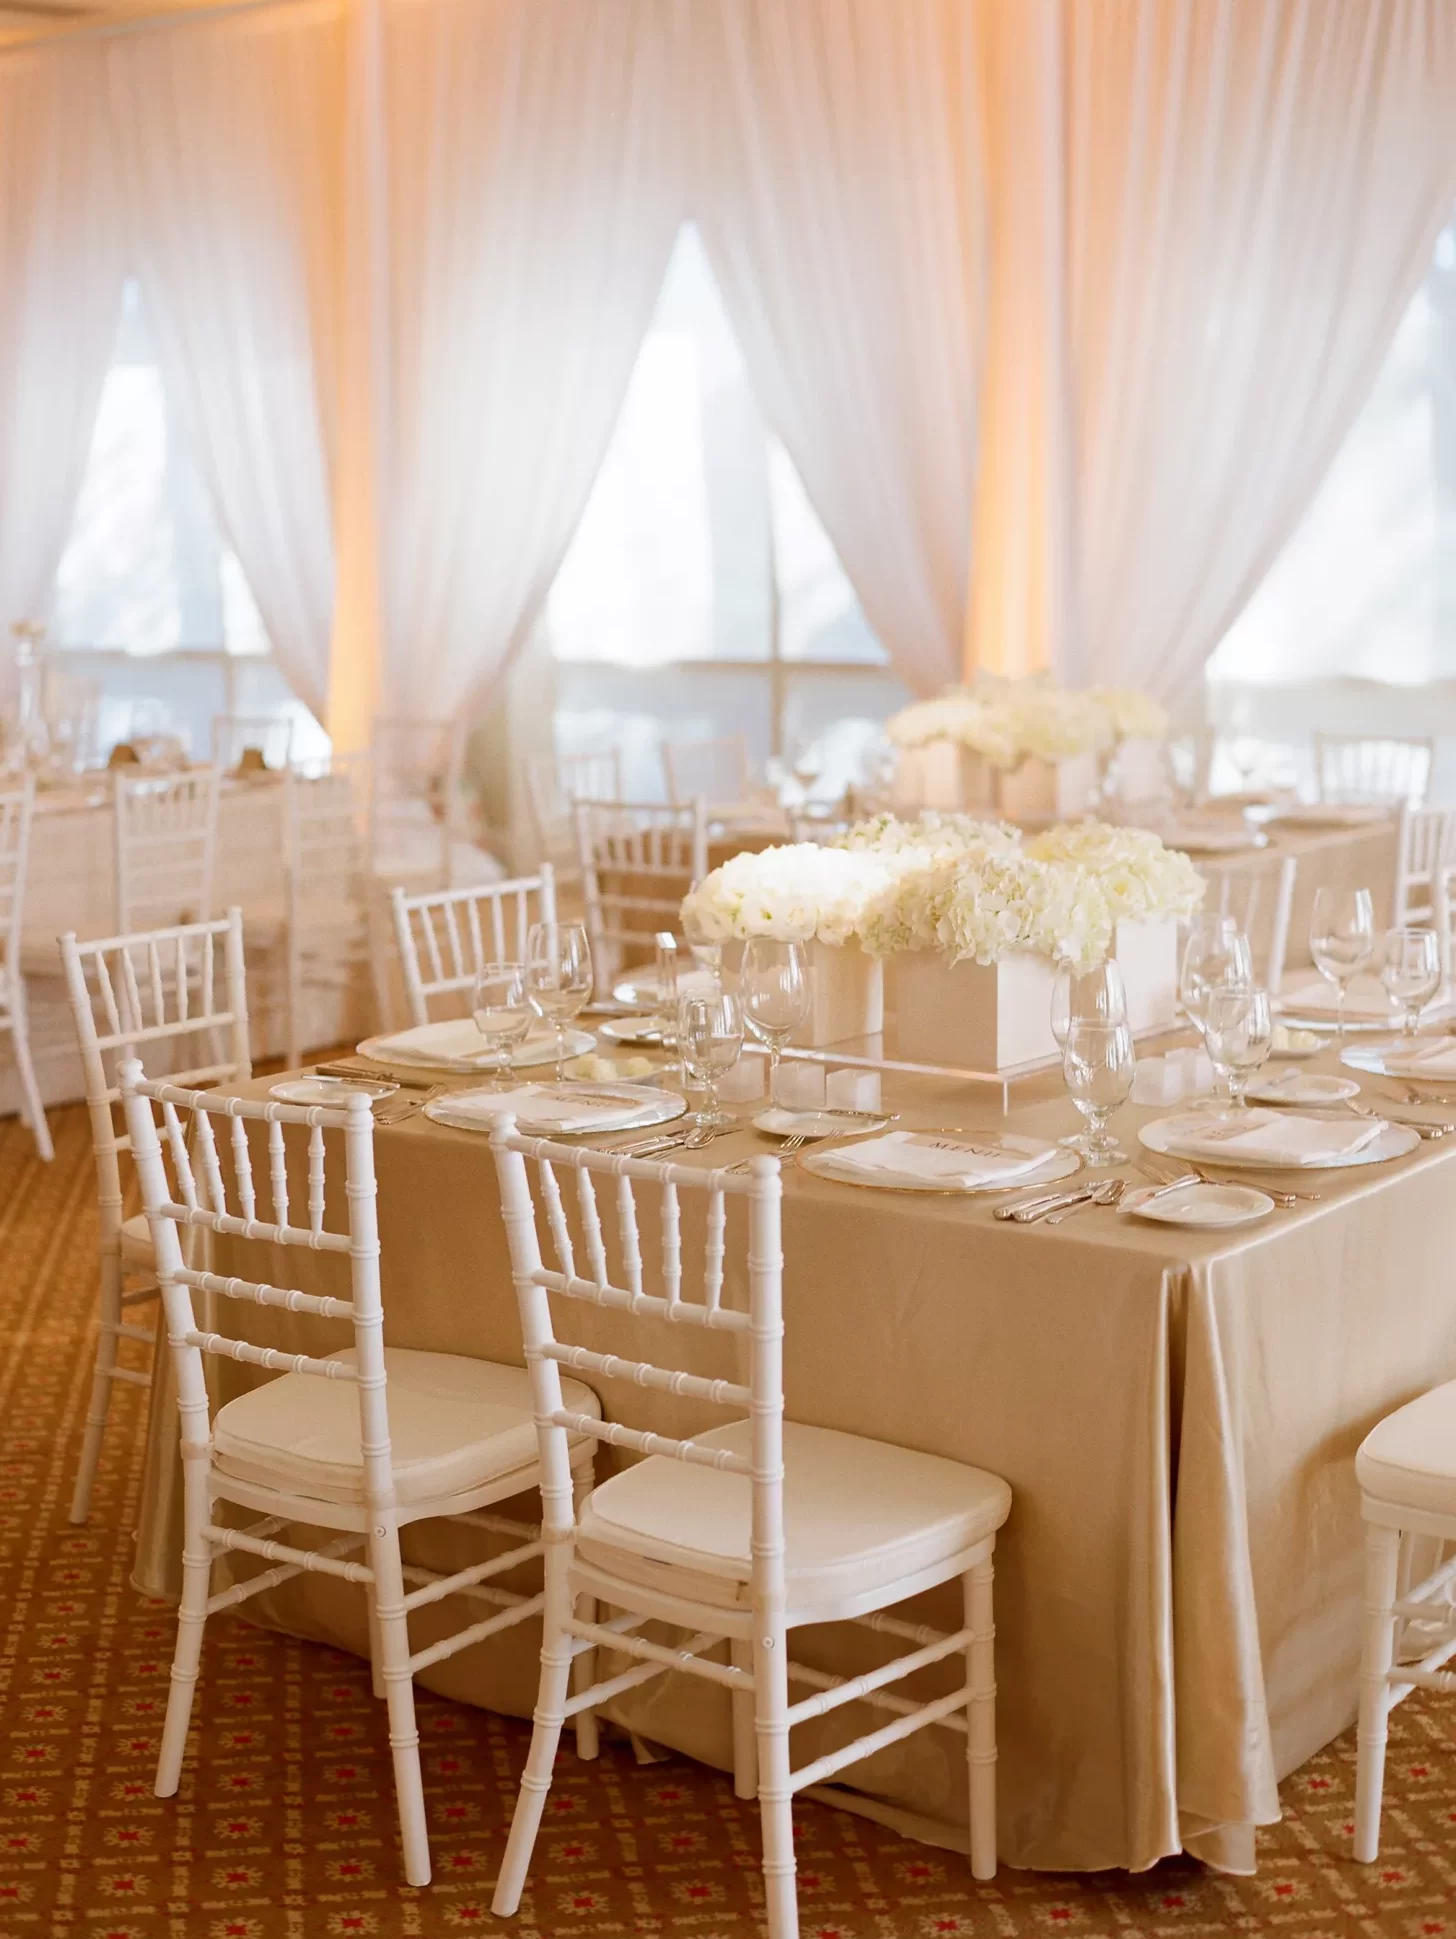
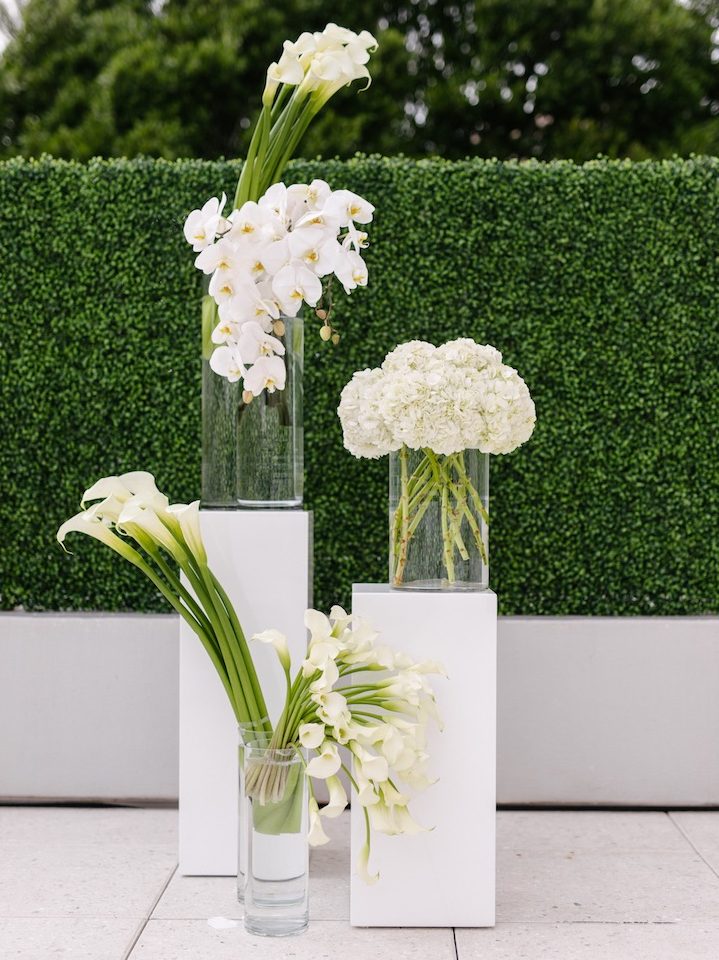
Here are inspirations to help you decide which DIY flower grouping centerpiece is right for you!
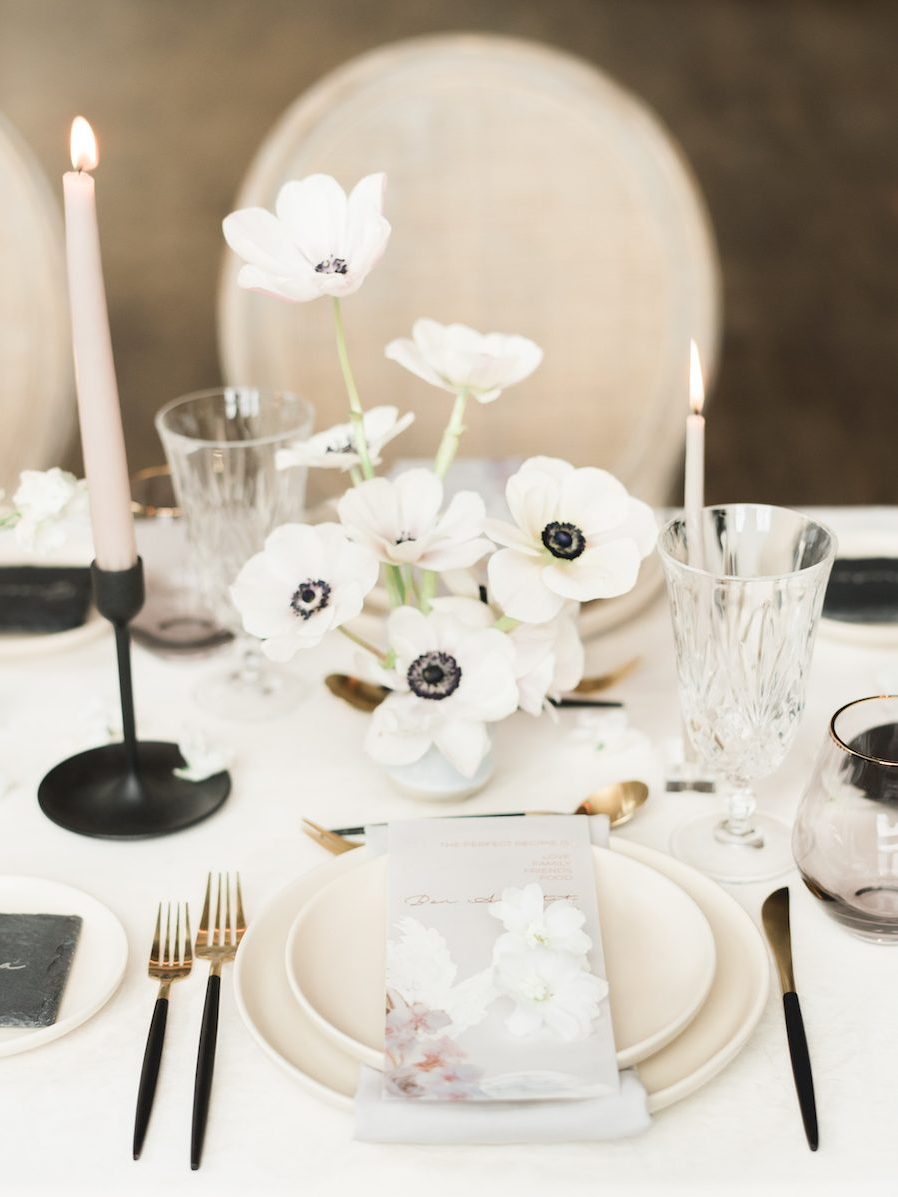
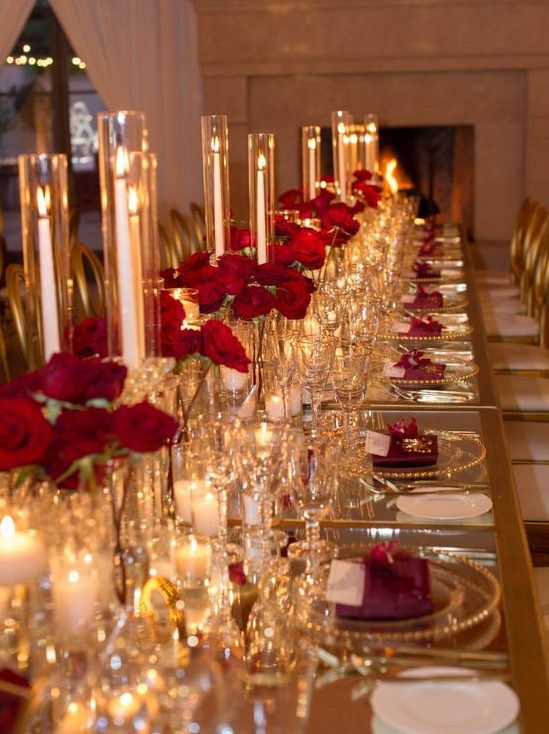
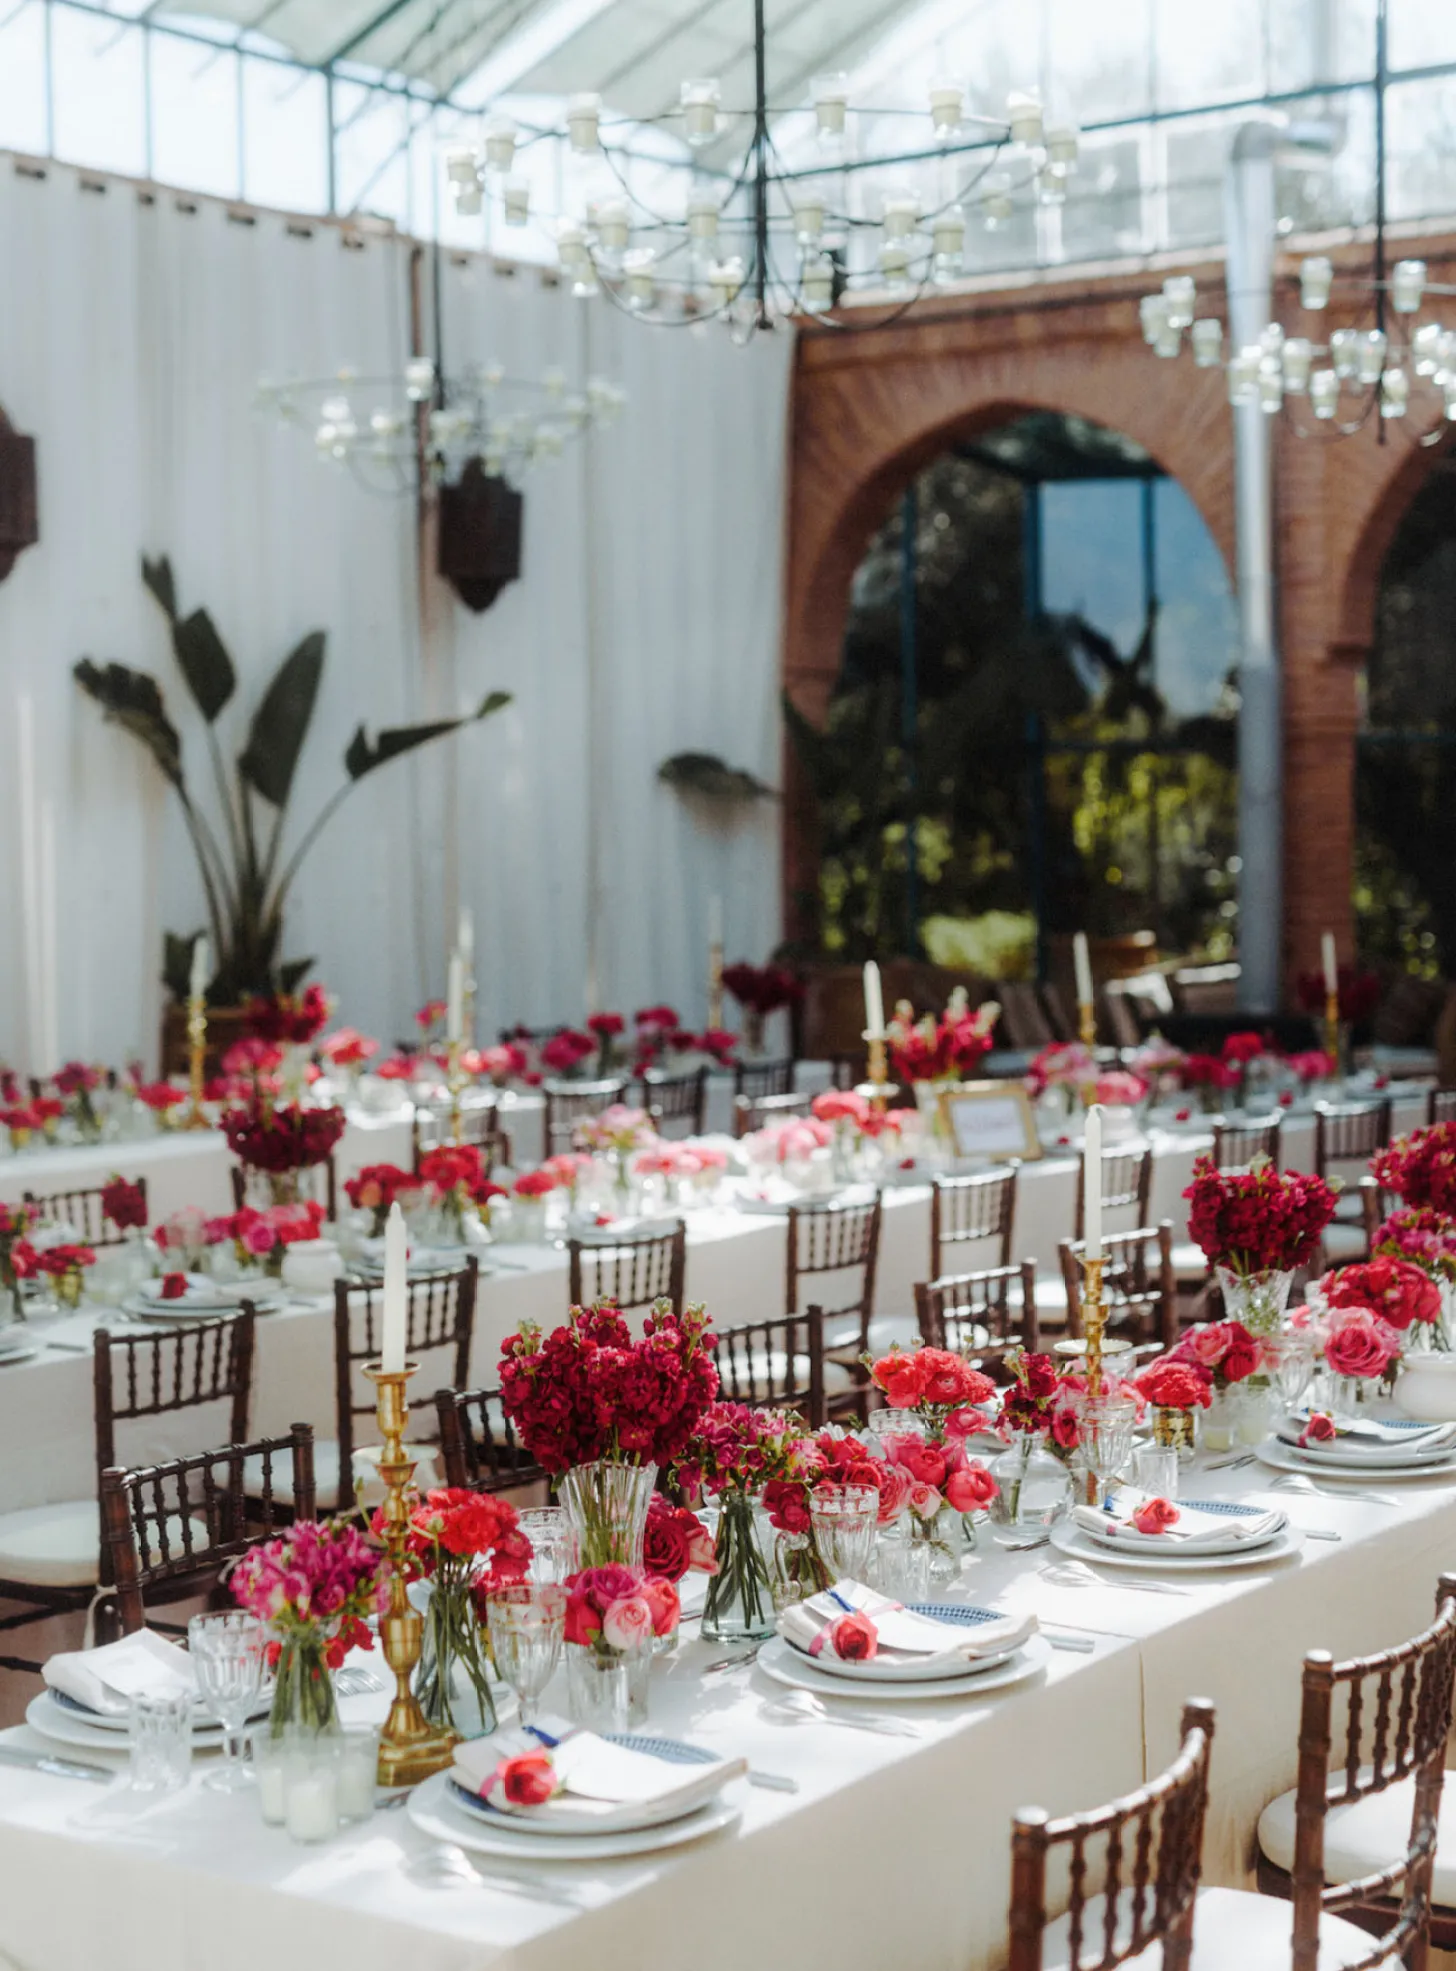
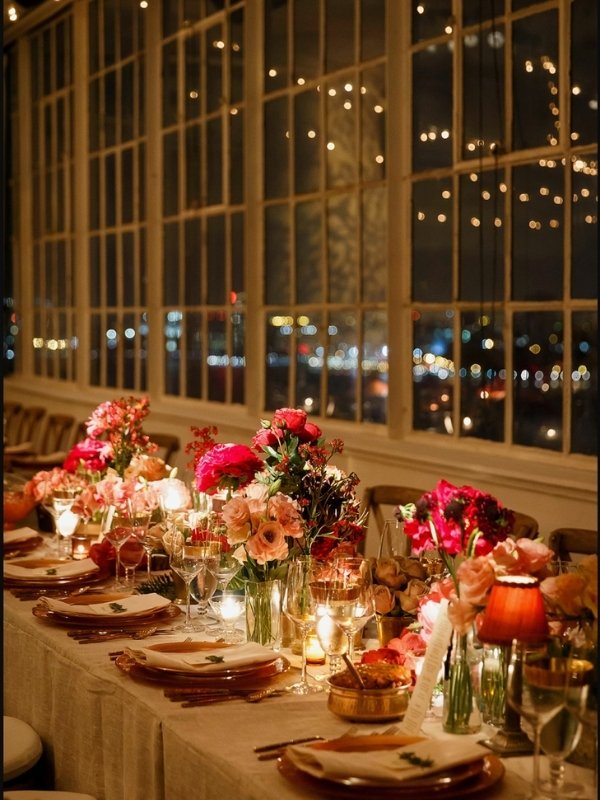
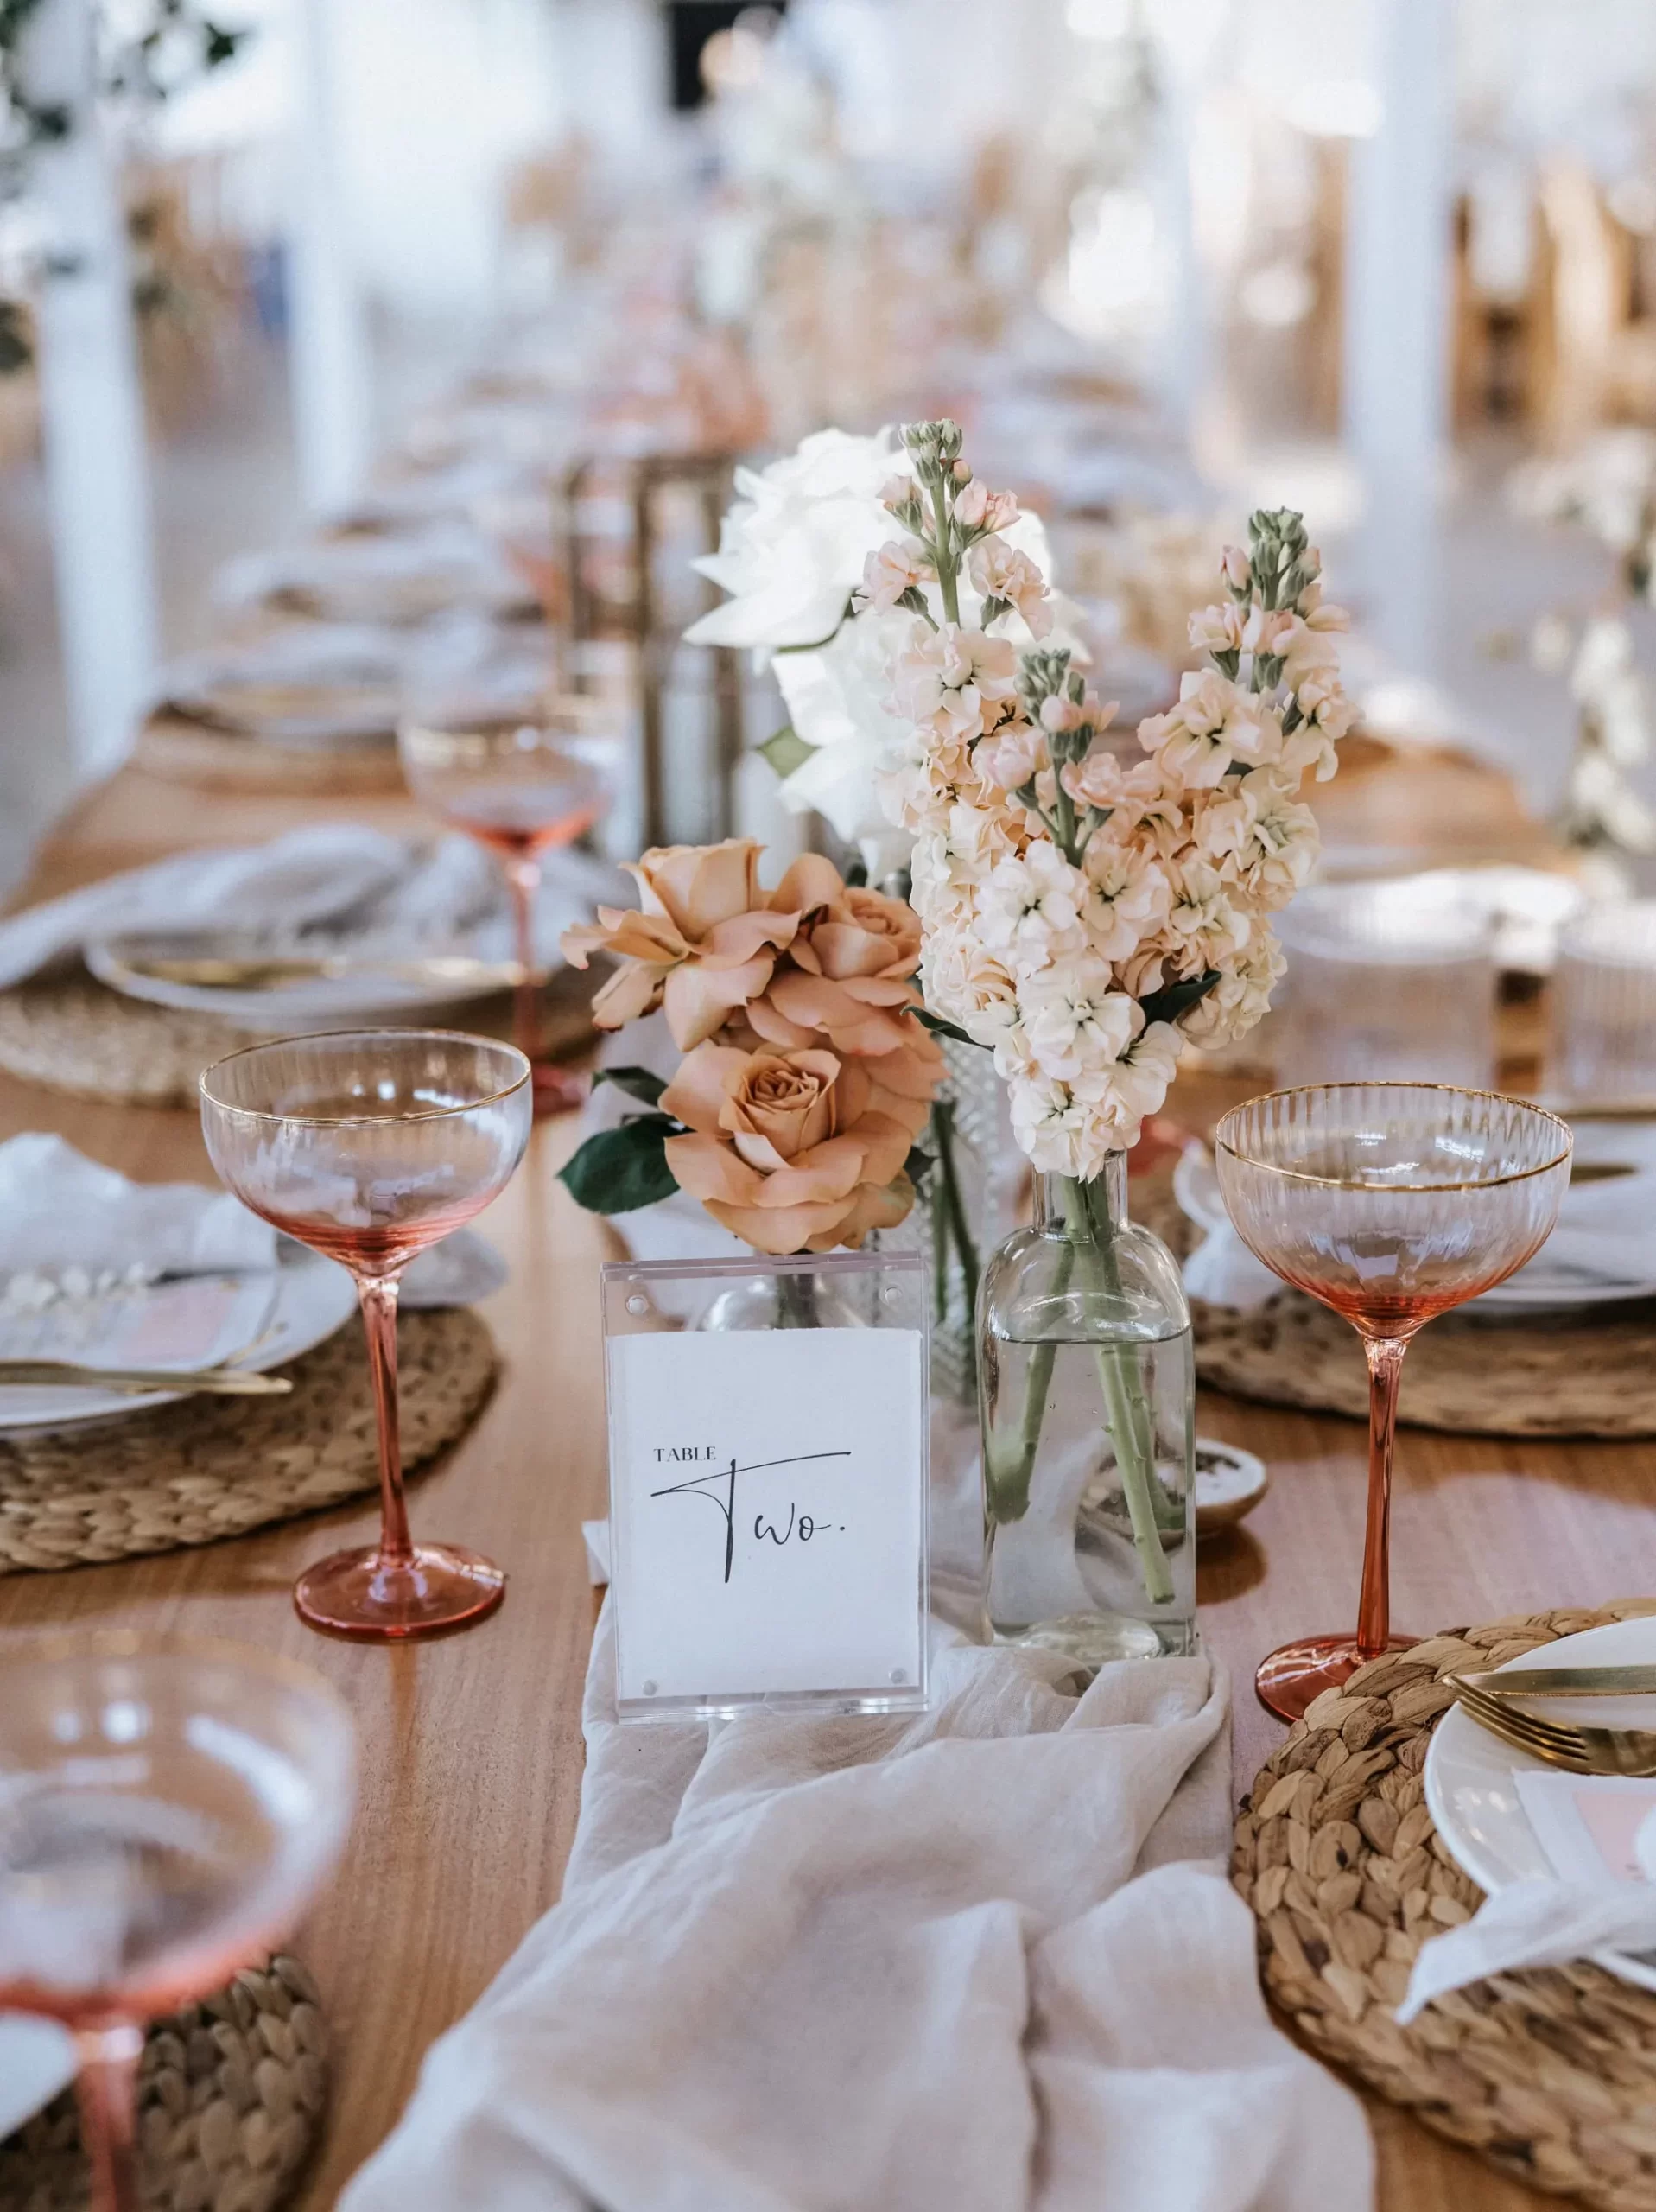
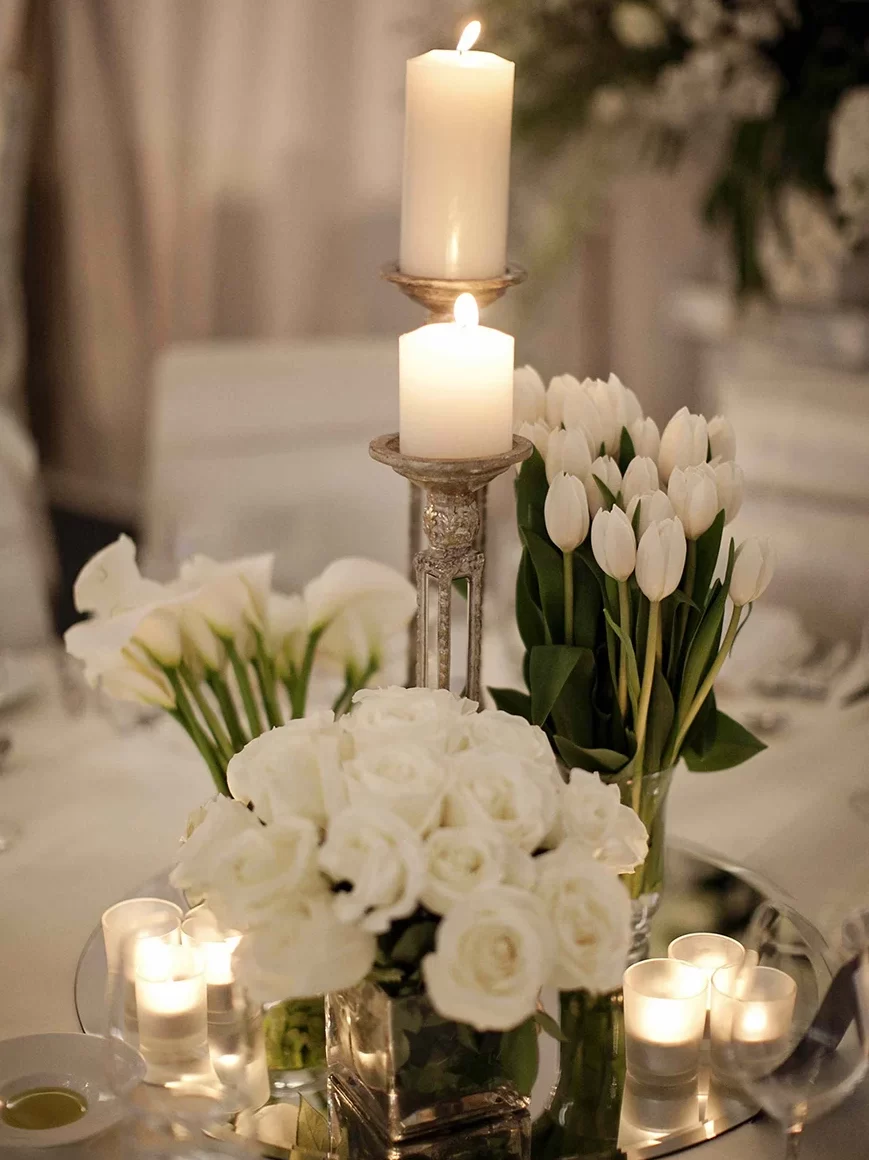
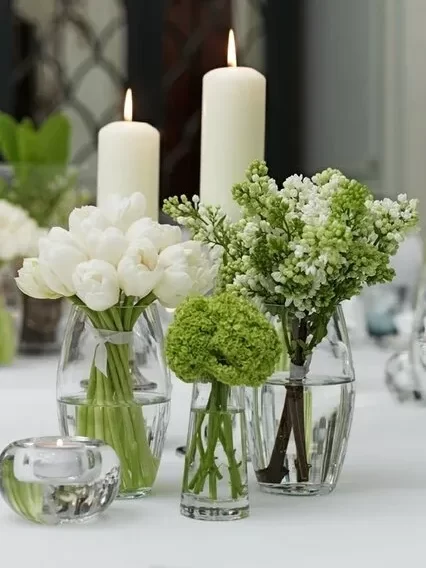
There you are lovelies! DIY Flower Grouping Centerpiece Ideas for your wedding!

