DIY Wedding Cake: Hacks and Tips. Hello, sweet “baker”! Planning to make your own wedding cake? A homemade wedding cake maybe? Looking for DIY wedding cake ideas? Simple wedding cake for a small wedding? Is it crazy to make your own wedding cake? Supermarket wedding cakes? Cheap DIY wedding cake? Recipes for wedding cakes? Looking for tips on how to make a wedding cake? In this guide, we are sharing tips on how to pull off making your own wedding cake!
TIPS
- Please don’t put anything heavy on top of it to avoid dents and collapsing.
- Understand that this won’t be the best tasting cake, but it will look great as a display.
- This is best for the cake cutting photos and display only but not to serve to your guests.
- You can make this ahead of time and store accordingly – or ask your venue if they can store it in their fridge 2-3 days before your wedding. This will save you the trip and the worry of dropping off the cake.
- You can use multiple cakes and put them in cake stands of different heights.
- Consider using a high top cocktail table to put your cake on instead of a regular table to add the height and for people to have a better look at it.
HACKS
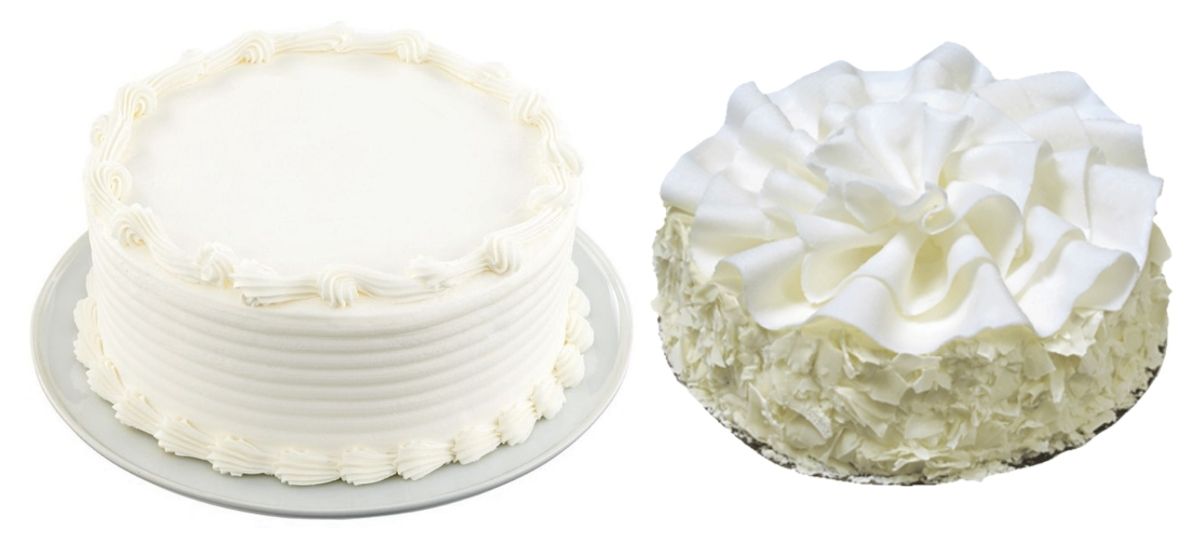
- Start with a plain store-bought cake
- Get creative
- Avoid fresh flowers and greenery
- Cake toppers, icing sugar, nuts, fruits, chocolates, shavings etc.
- Cake stand
- Storage
- Transportation
- Display & “Serve”
We are rounding up creative hacks and design details that you can incorporate into your “wedding cake” to elevate its look. Take it from “blah” to “wow!”.

DIY Make your own Wedding Cake TIPS
1. Please don’t put anything heavy on top of it to avoid dents and collapsing.
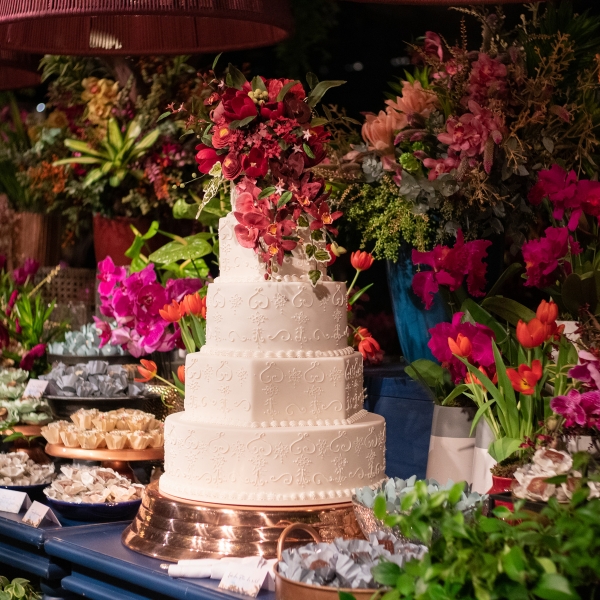
Avoid putting heavy things like real flowers on top of the cake. This might make it collapse. Remember as well that you are pre-making this cake 2-3 days before your wedding. You won’t want those flowers to wilt and be sloppy and brownish at your wedding.
TIP: Use silk flowers instead. Choosing the right silk flowers to use will make a world of difference! It will look as close to real as possible, but also light, and you will not worry about it wilting!
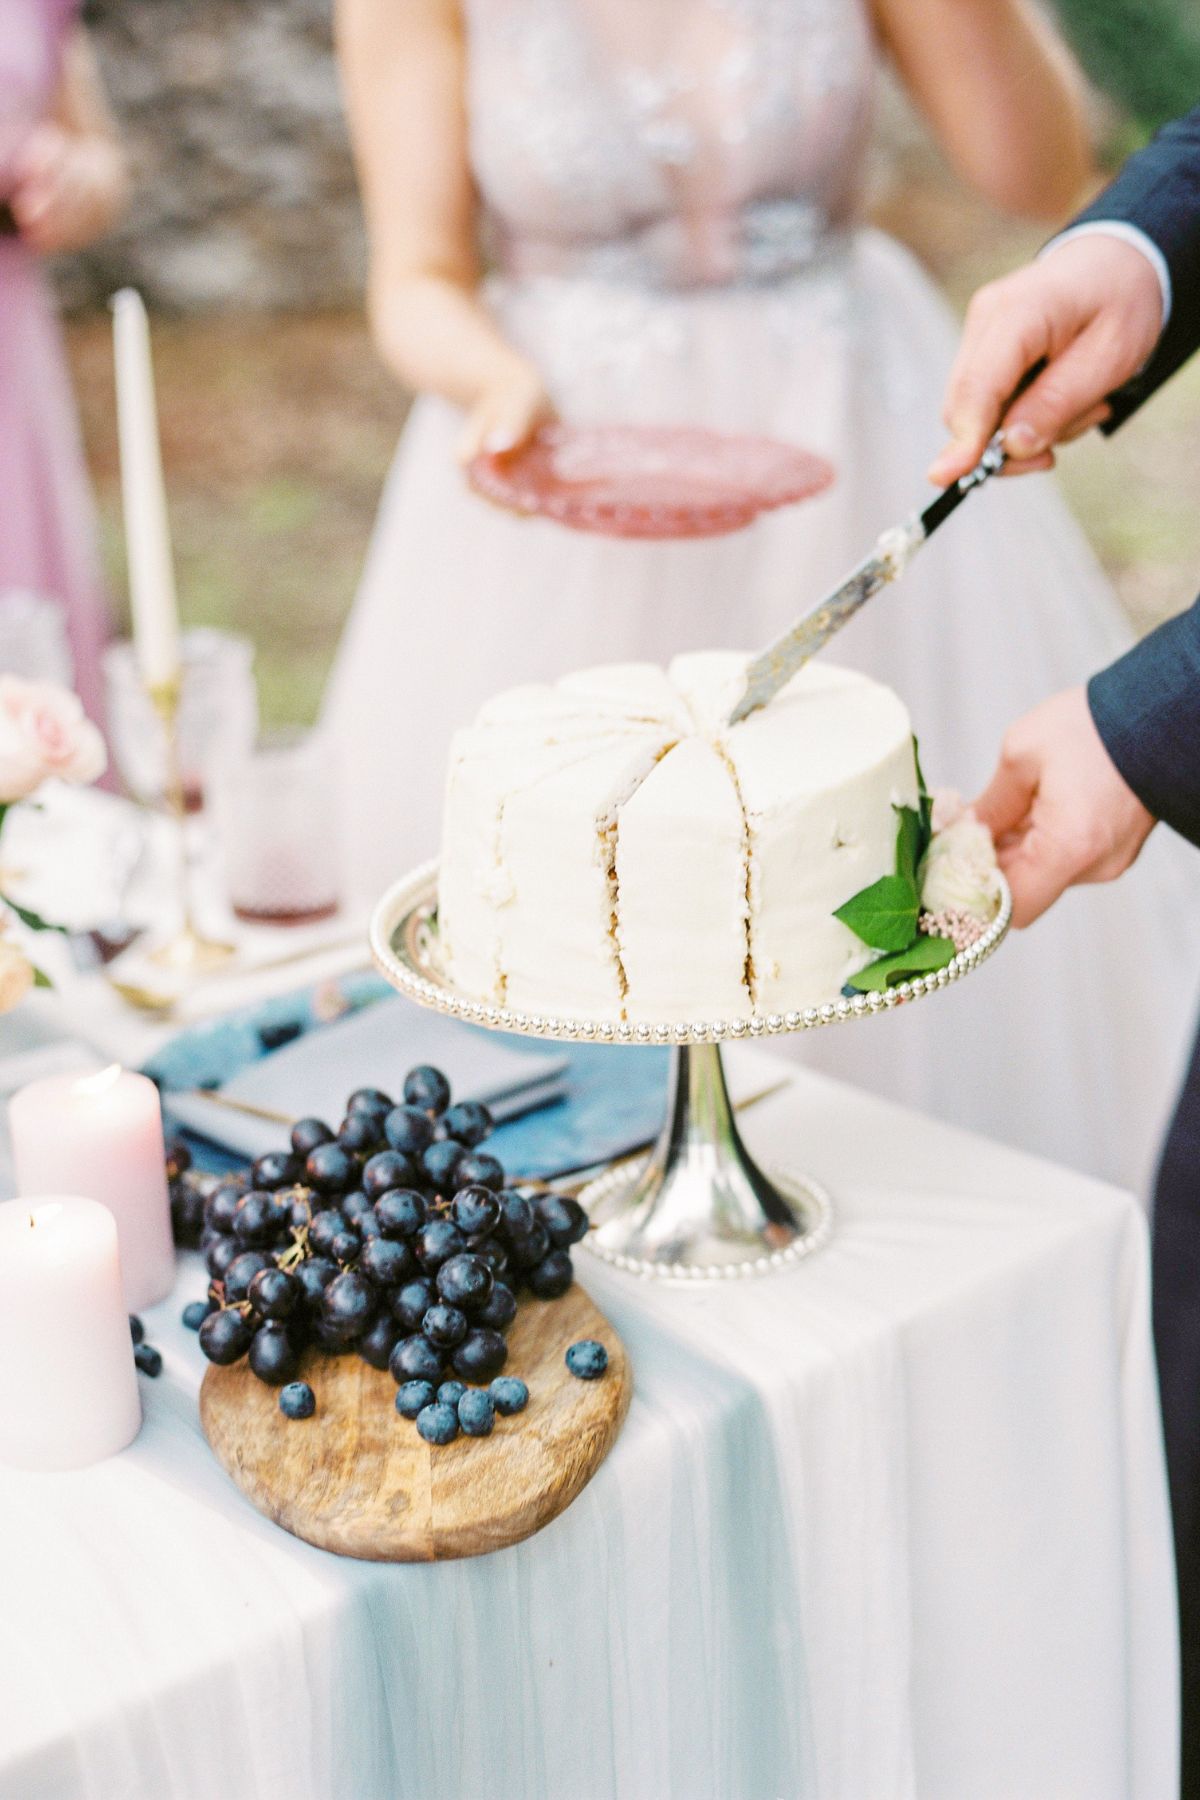
2 and 3. Understand that this won’t be the best tasting cake, but it will look great as a display. This is best for the cake cutting photos and display only but not to serve to your guests.
Because you are using a non-custom cake and technically adding some design details that are not of the best quality, assume that your cake will be “ok” tasting but not delicious.
Honestly, it might not even taste that great. But remember, this is only for display or cake-cutting photos. This cake will not be advisable to be served to your guests.
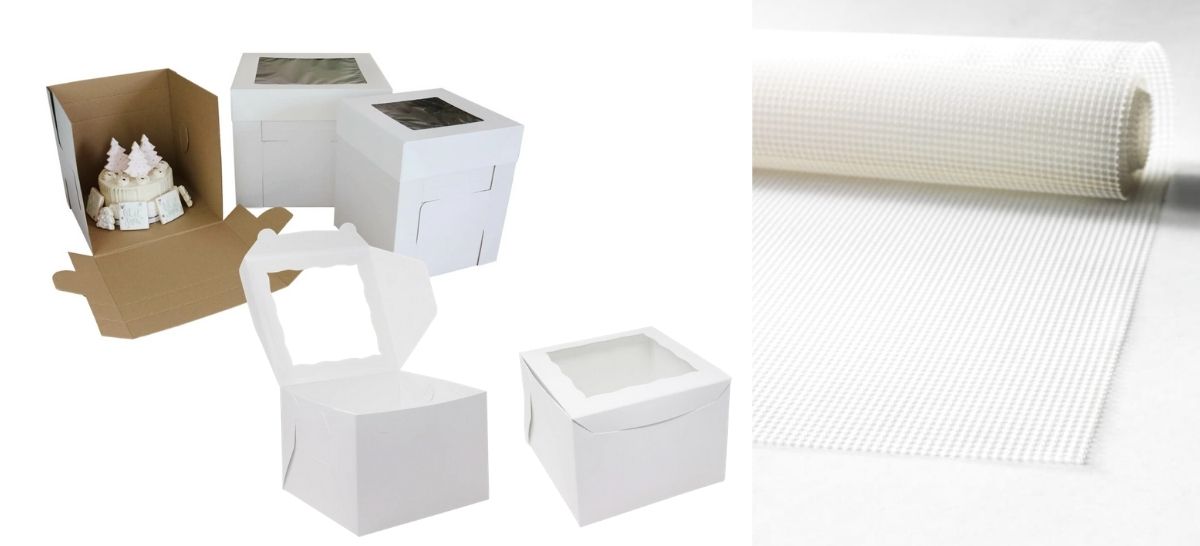
4. You can make this ahead of time and store accordingly – or ask your venue if they can store it in their fridge 2-3 days before your wedding. This will save you the trip and the worry of dropping the cake.
Suppose your venue has a fridge (they usually do!) to store the cake 2-3 days before. This will save you the trip and the stress of transporting/delivering the cake on the day of your wedding.
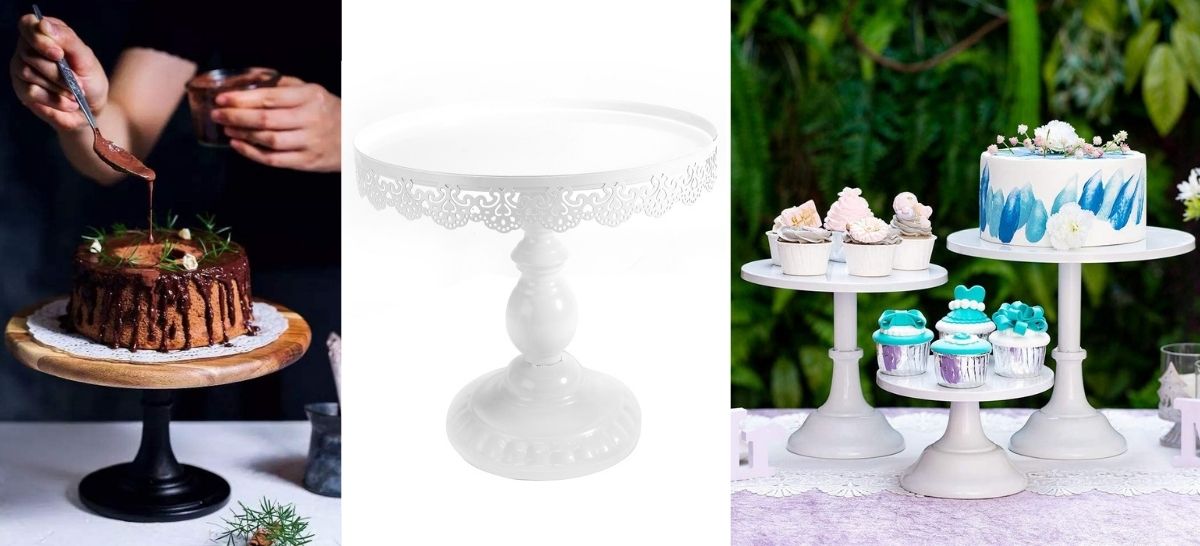
5. You can use multiple cakes and put them in cake stands of different heights. (this is a great tip for your DIY wedding cake!)
If you would like to have a fuller cake table, you can make 2 extra cakes and have a group of 3 one-tiered cakes on display on stands of different heights. It will create the illusion that you have a “big” and “full” cake!
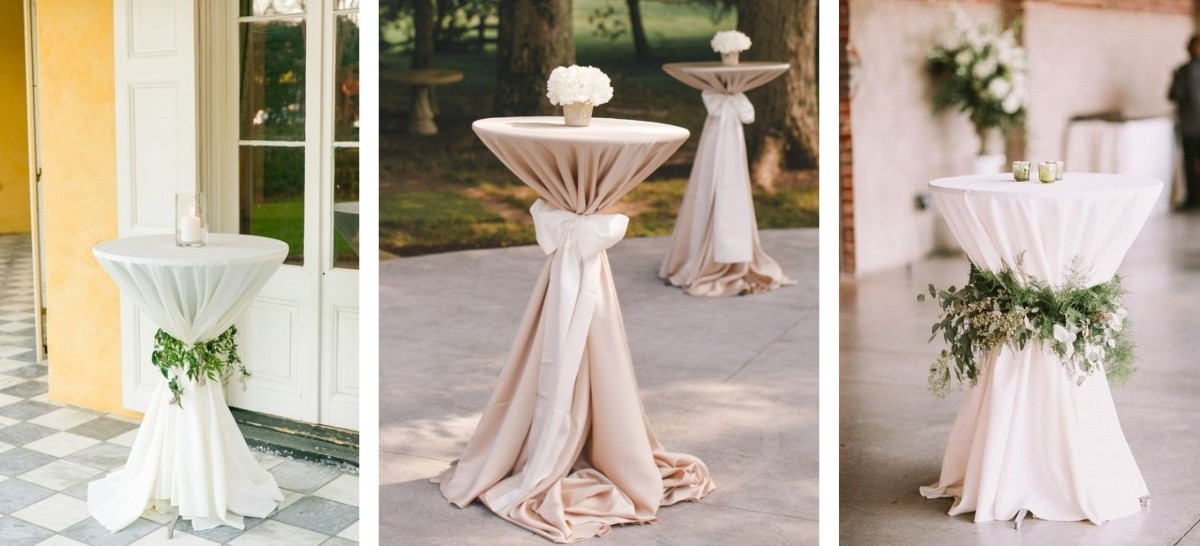
6. Consider using a high-top cocktail table to put your cake on instead of a regular table to add height and for people to have a better look at it.
For your guests not to miss your cake (since it is a one-tier cake!), consider using a high-top cocktail table to help with the height.

DIY Make your own Wedding Cake HACKS
1. Start with a plain store-bought cake
2. Get creative
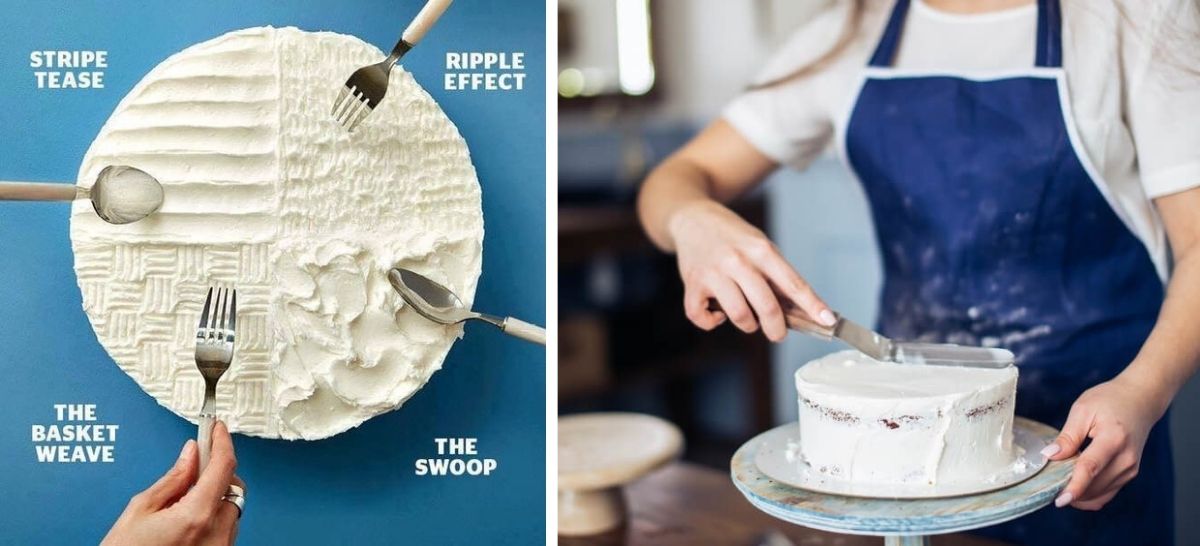
Get your spatulas or even just your regular spoon to creative use!
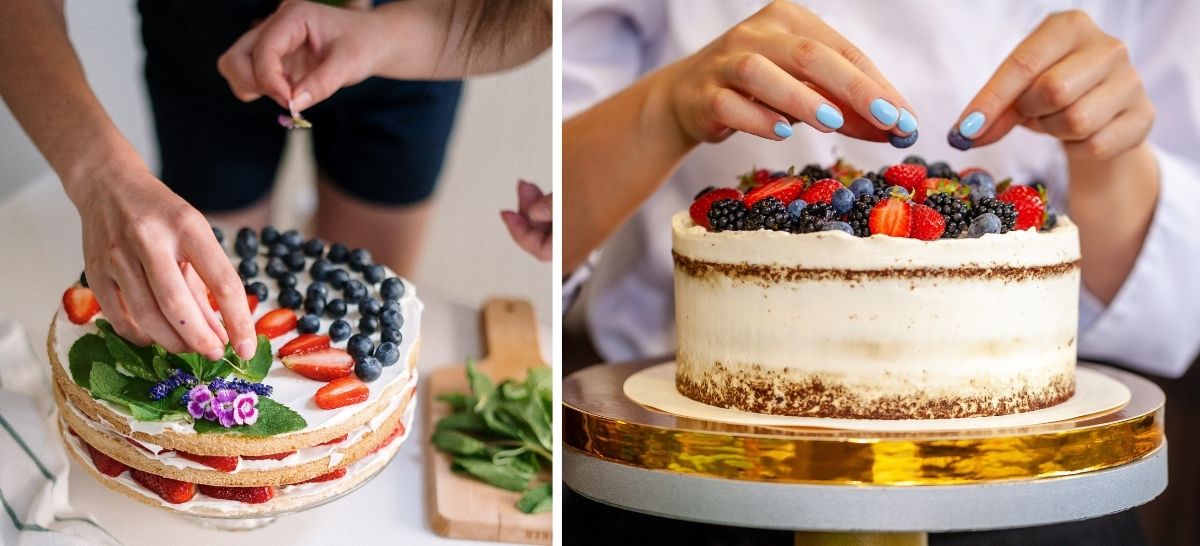
3. Avoid fresh flowers and greenery
As this is a trendy and pretty approach, if you are pre-making the cake 2-3 days in advance, this might not be the best option. The lighter the cake is, the easier it is to transport and manage it.
Remember, the lesser maintenance the cake, the easier it is for somebody else to set it up, which means lesser stress and management for you.
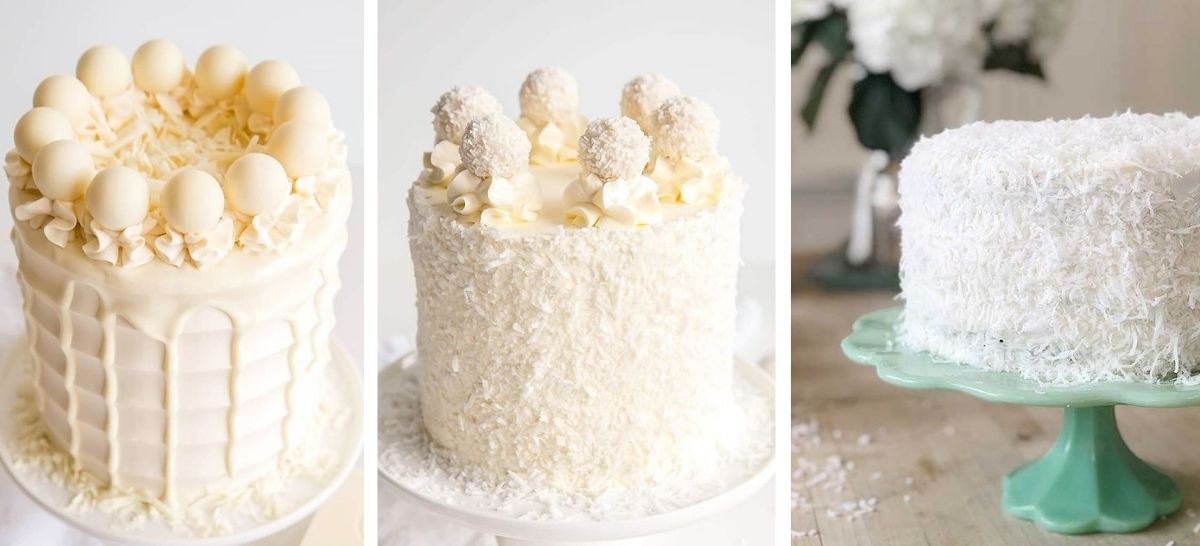
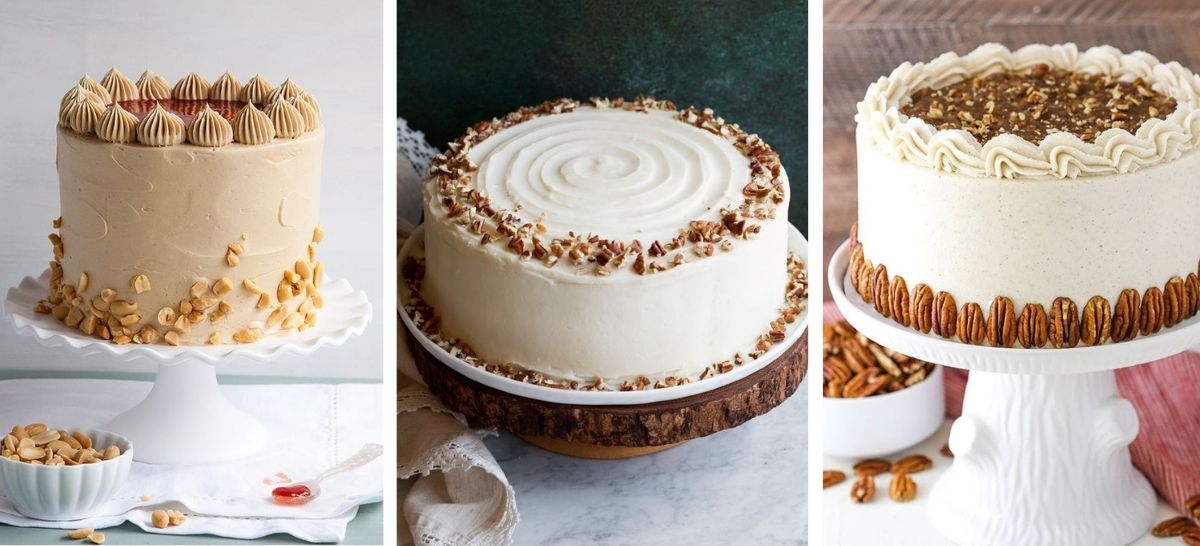
4. Cake toppers, icing sugar, nuts, fruits, chocolates, shavings etc.
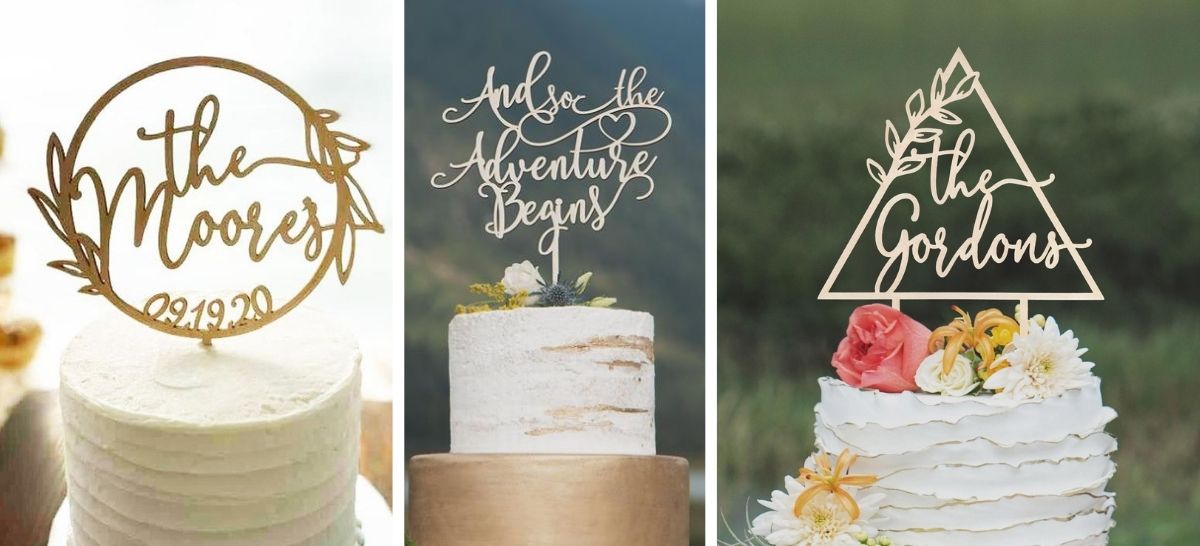
More wedding cake toppers under $20 here!
5. Cake Stand (this elevates your DIY wedding cake!)

6 & 7. Storage & Transportation
8. Display & “Serve”
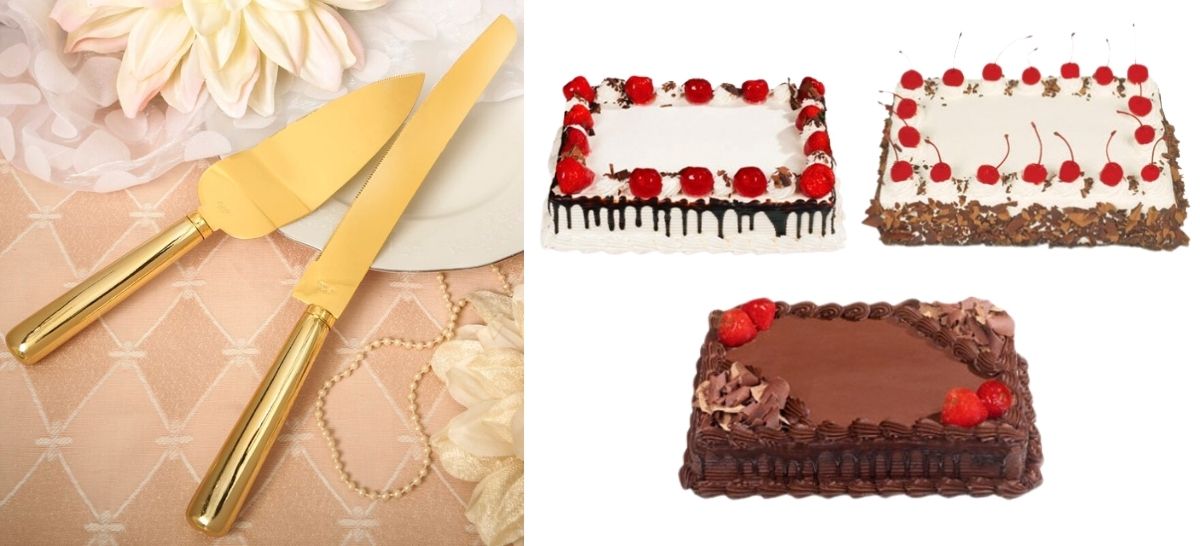
Depending on the number of guests you are having, your cake slab should be able to cover it! 1/4 Slab (Serves 15-20), 1/2 Slab (Serves 30-40), and a Full Slab (Serves 70-90).